Twist & Reveal – Pretty Poinsettias!
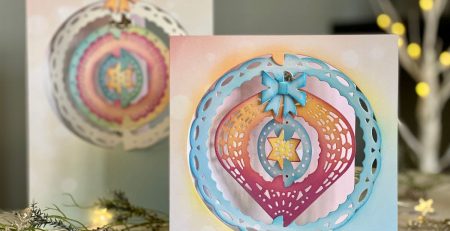
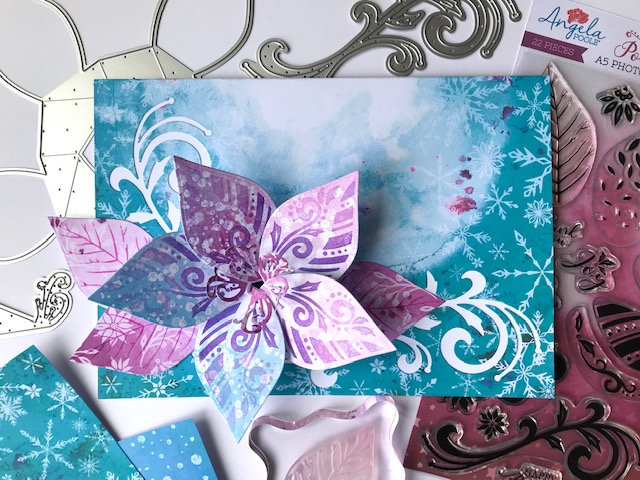
We’re finally able to reveal our brand new Pretty Poinsettia Twist & Reveal die-set! It’s such an incredible die-set as it enables you to make your own 5-petal poinsettias/flowers which SPIN 360 degrees on your cards AND when you pull the petals, they twist and open to reveal a hidden surprise inside! I’ve been adding photos and hidden greetings inside many of my poinsettias and I’m having soooo much fun crafting with them!
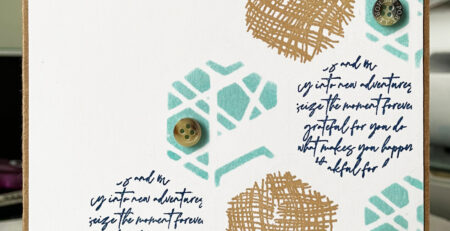
There’s also a co-ordinating A5 photopolymer stamp set with beautiful designs for stamping the petals, plus flourishes, greetings and other lovely details!
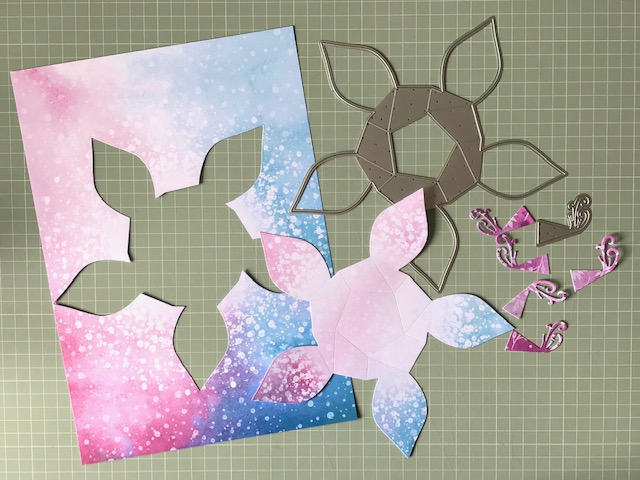
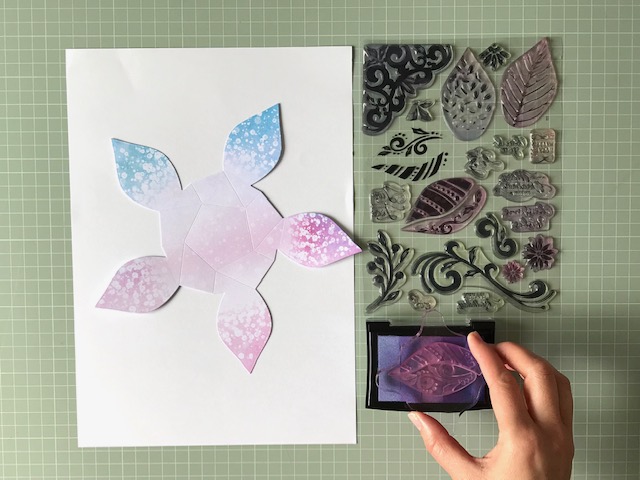
This is the main poinsettia die from within the set. It’s HUGE, so you will need a die-cutting machine with an A4 cutting plate. As well as cutting the shape, it also scores the fold lines for you.
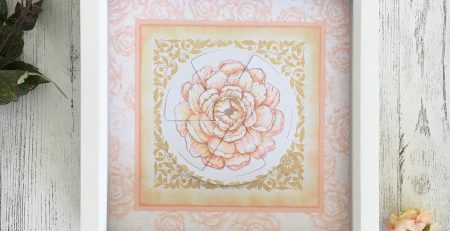
You may have noticed the rather gorgeous inky patterned paper too? Well, we’re also launching our new Florals & Flurries collection! I printed this using my home printer from the Florals & Flurries DVD-ROM. I’m completely head over heads for the inky effects in this collection – and Katie and I had a lot of fun creating them for you! If you’re printing patterns like this, we’ve found that 200gsm card works well as it’s strong, but easy to fold.
There are a couple of stamen dies to choose from in the die set. Here I’ve used ‘Stamen 2’ to cut the pieces from patterned paper.
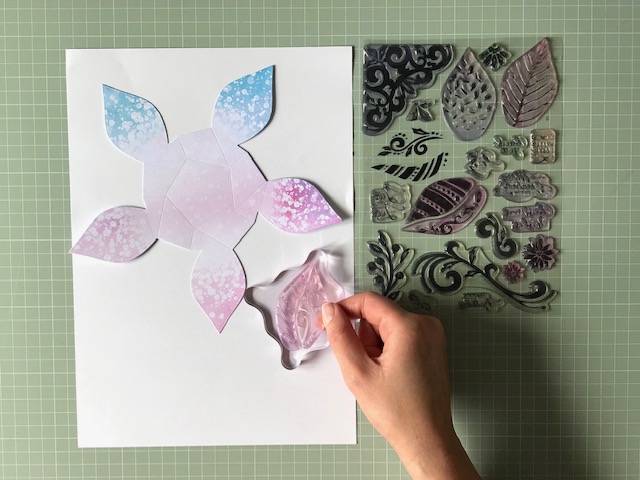
I’m going to quickly run through stamping with the die-set but feel free to skip this bit if you want to just die-cut and make poinsettias/flowers. 😉
There are a couple of whole petal designs within the stamp set but also two split designs, and this is where it gets interesting! The stamps are cut to fit snugly together to form a petal shape which sits perfectly over the die-cut petals for easy positioning. This also allows you to mix and match the stripes and flourish designs for even more patterned petal possibilities!
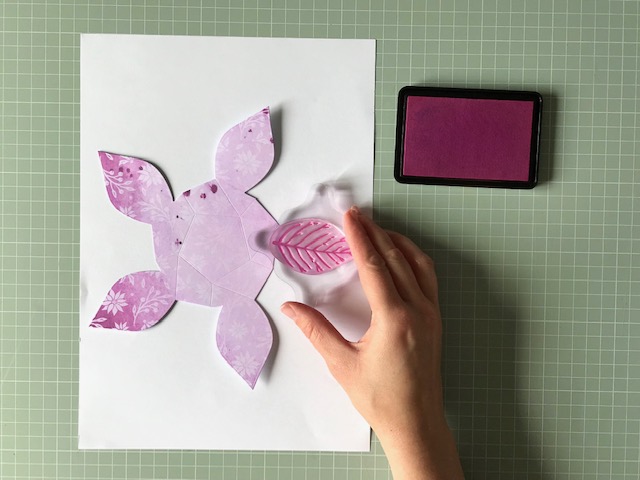
As you know, I’m quite taken with multi-colour ink pads at the moment. Here I’m using my VersaColor, Wild Berries pigment ink pad again. I’ve positioned the stamp so that the base of the petal will be darkest when stamped.
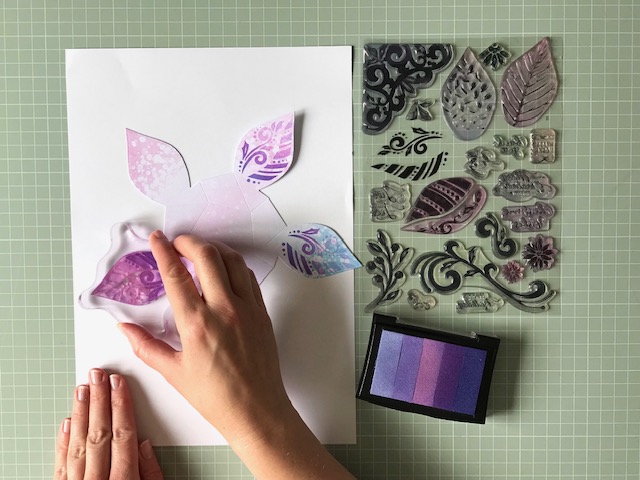
Work your way round to stamp each of the 5 petals. On a side note, don’t be alarmed if the colour of my cutting mat appears to change . . . it’s because I’m working in natural light and I occasionally get a burst of sunlight or cloud passing by!
Ok, so this is the bit you’re all interested in. The main how-to! You’ll find detailed instructions on the packing with step-by-step photographs which are handy when you’re just starting off.
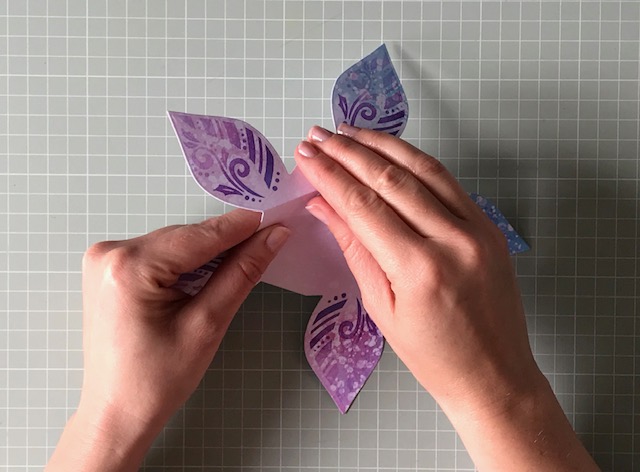
I like to start by folding each of the 5 long diagonal scored lines to make mountain folds.

I then fold each of the 5 outer lines to make valley folds.
And then the scored lines of the inner pentagon are also folded into valley folds.
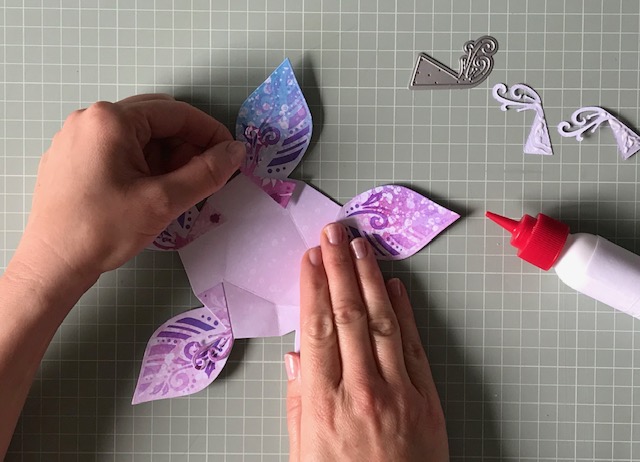
I’m attaching the stamen pieces to the base of each petal using tacky PVA glue. Apply the glue to the triangular part and to the base of the stamens only. This way, you’ll be able to lift the stamens for a 3D look on your finished flower.
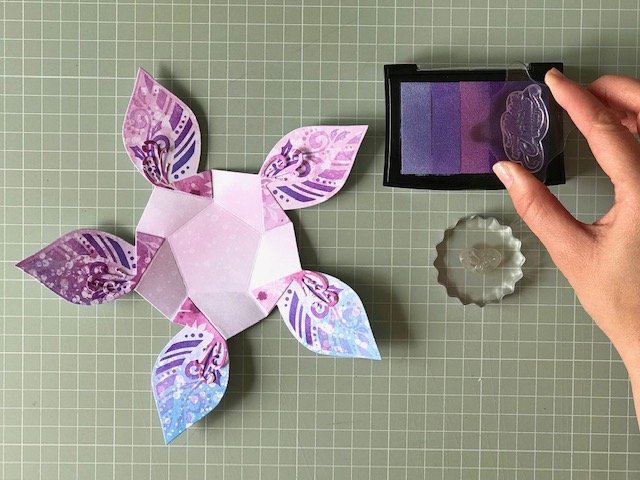
There are other dies in the set for adding photos (which I’ll explain in another post – there’s so much to share about theses products!) but here I’m adding a quick stamped greeting. I’m using the darkest side of the ink pad as I want it to stand out.
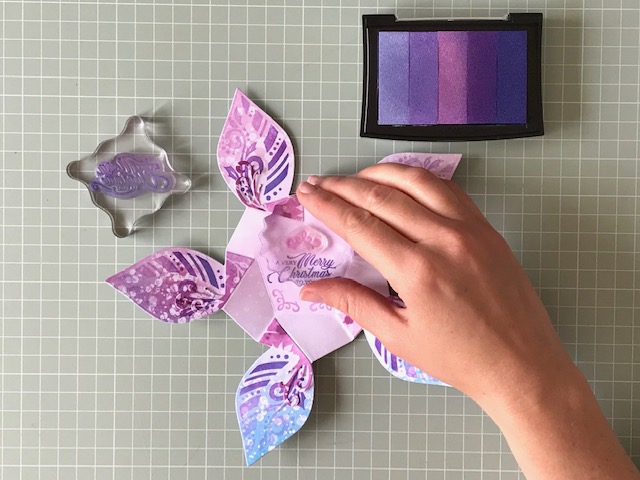
I’m using one of the small stamps to add details around the edges.
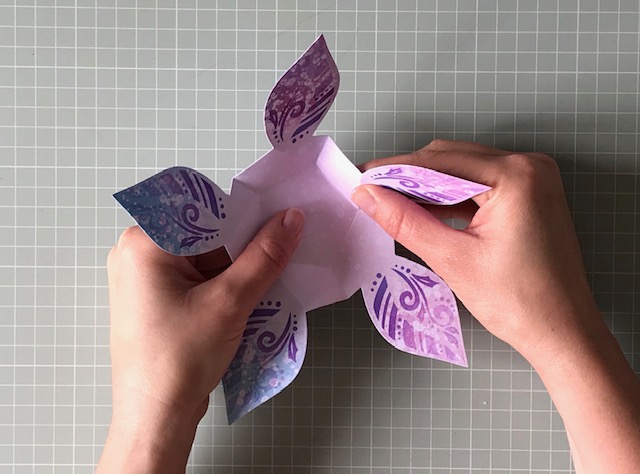
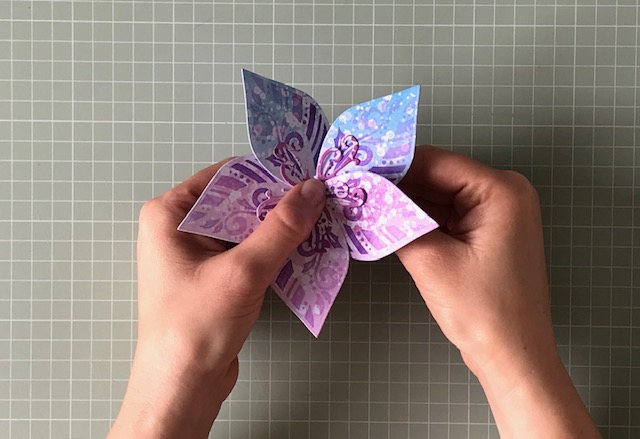
Once the ink is dry, pinch the outer corners to form a basket shape.

Holding the sides, ease them inwards and the flower will start to fold inwards with the petals overlapping slightly.
Push the centre of the flower and it will fold flat when finished.
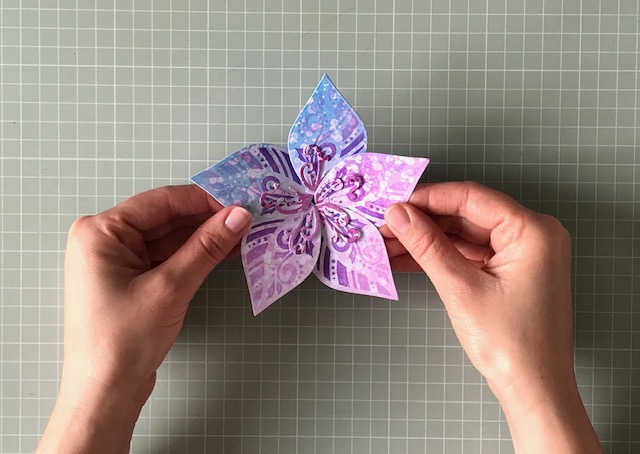
This makes a pretty 3D flower as it is and I’ve attached flowers like this directly to many cards and home decor items. It will still open and look gorgeous.
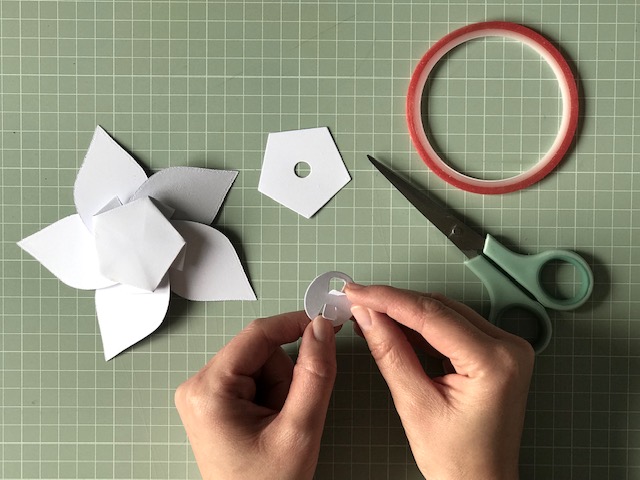
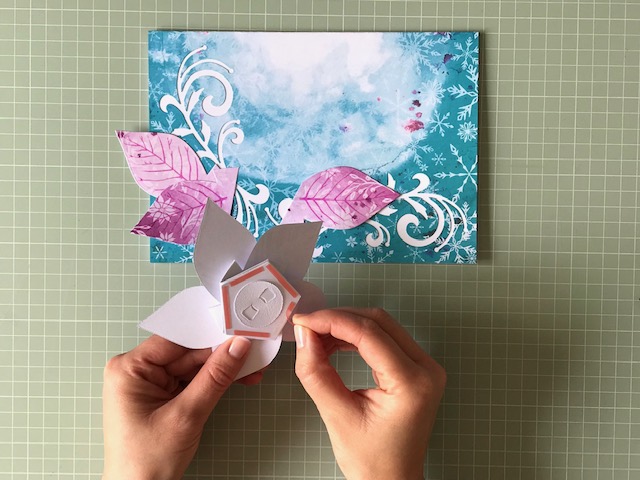
To make it spin 360 degrees and twist as it opens, you’ll need to die-cut the ‘Brad’ and ‘Pentagon with hole’ pieces from card. They’re fairly small so easy to cut from card scraps. I like to cut them from 200gsm card. The brad die will score two lines so that you can lift the die-cut arms upwards.

Thread the two arms through the hole in the large pentagon. The ends will bend slightly as they’re designed to be a tight fit – and lock together.

Once the pieces are connected, open the brad arms out flat and apply high-tack double-sided tape to each arm. I recommend using high-tack tape rather than glue because you don’t want the glue to run under the arms and jam up the mechanism. Attach this piece to the back of your folded poinsettia.
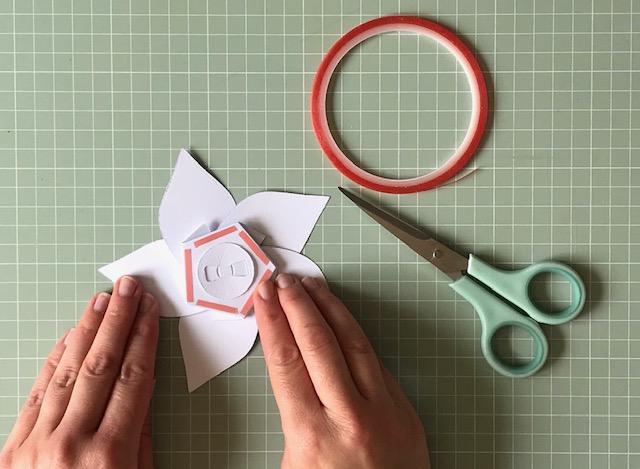
I’ve applied more 3mm high-tack double-sided tape around the outer edges of the pentagon. This is how you attach the spinning mechanism and poinsettia to your card design. And that’s how to make the spinning poinsettia!
I’ll continue with my steps to show you how I made my card base for this pretty card . . .

This is another gorgeous inky patterned paper from the Florals & Flurries DVD-ROM! I’ve printed it onto 250gsm white card and folded it in half to made an A5 landscape card.
I opened it out again and use the folded line as a guide to position and die-cut two negative flourishes from the front of the card. To add strength and to make the flourishes pop, I lined the inside with more white card.
The veiny leaf/petal stamp can be used to create more realistic poinsettias but it’s also handy for making leaves! I’ve printed another sheet of patterned card and die-cut the poinsettia shape before stamping each petal.
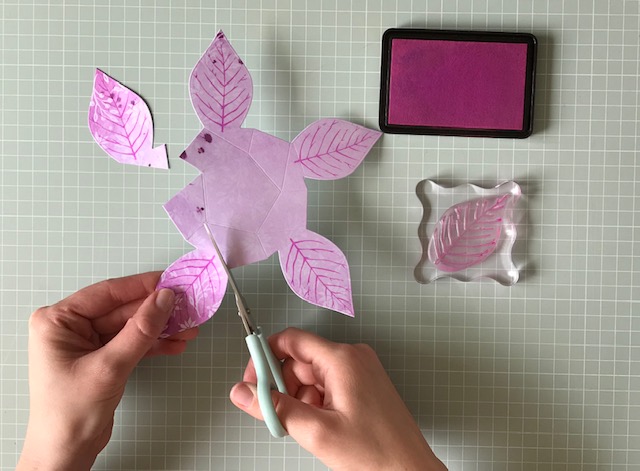
The petals can be trimmed and arranged as leaves on your designs. I’ve tried the whole section as it won’t show on my card, but you can trim each petal into a neat point.
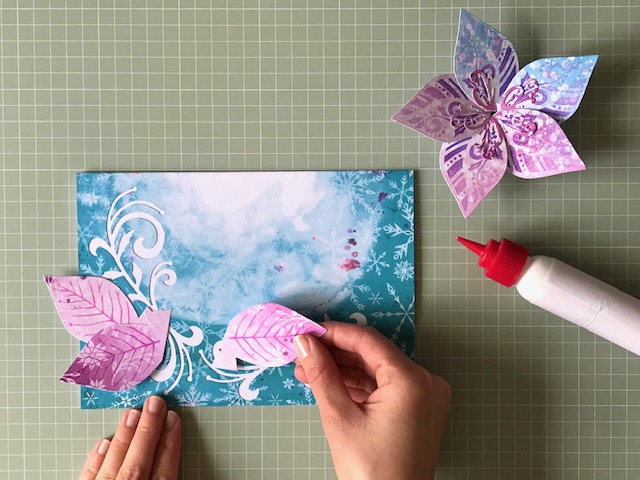
The leaves are attached with tacky PVA glue. I quite like the look when they are positioned just off the edge of a card.
The backing of the high-tack double-sided tape is now removed and your Twist & Reveal poinsettia can be attached to your card.
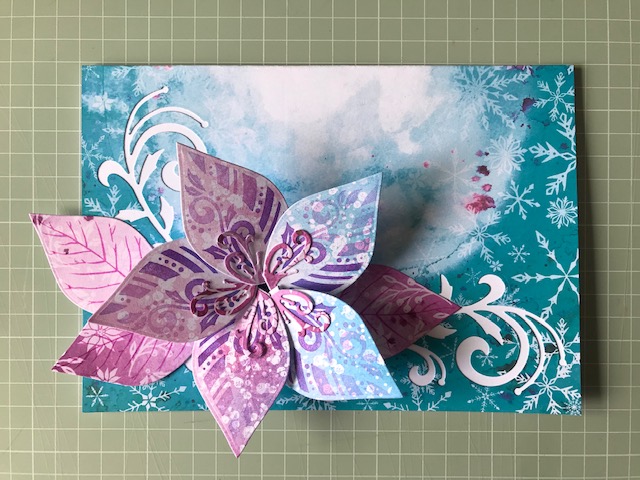
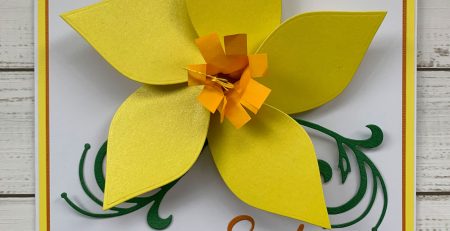
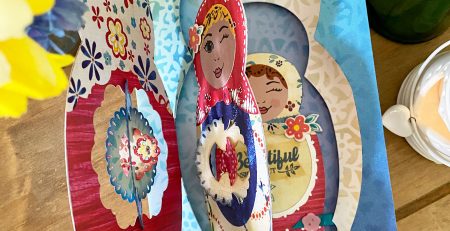
Here’s the finished card design. I absolutely LOVE the combined inky patterns here!
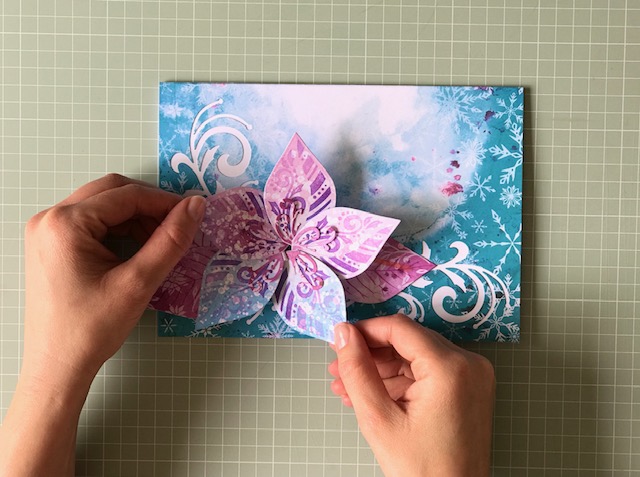
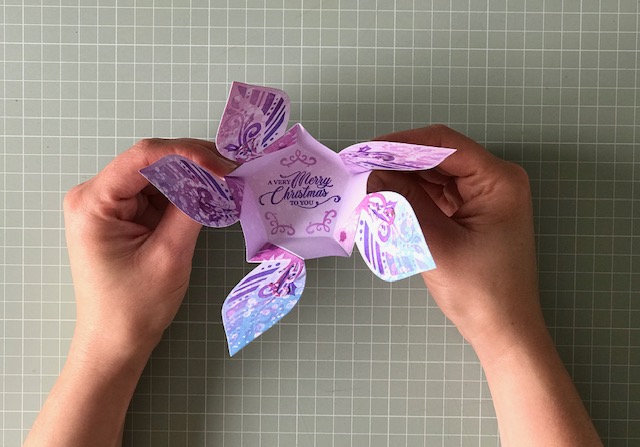
Hold two petals and pull them outwards . . .
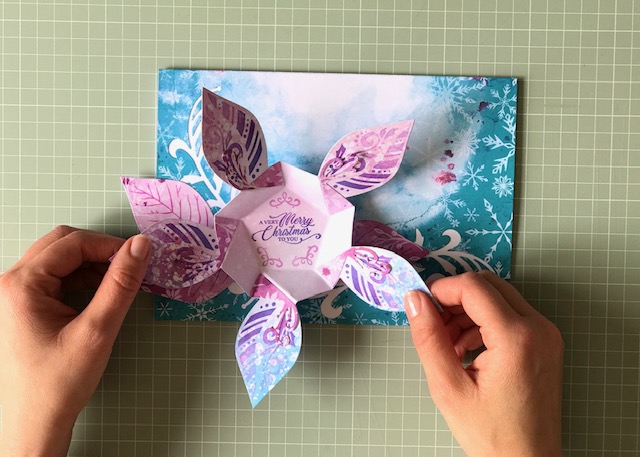
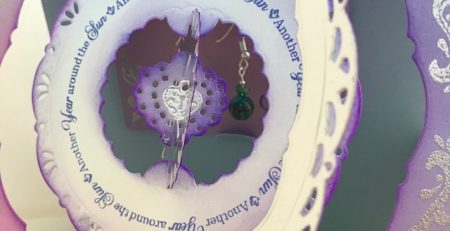
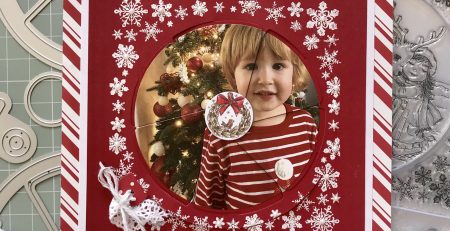
To reveal the surprise greeting! Curious how it looks open and on display??
 Well, it looks pretty awesome!! If you mount the poinsettia 3-4cm from the bottom of the card, the bottom petal/petals will rest on it and create a dramatic look.
I hope you love our new products as much as I do! Please stop by again for more inspiration.
Happy crafting!
Angela
x
Love this? Order the Pretty Poinsettia Twist & Reveal die set here from 12th August. Don’t forget to share your makes with us on Facebook, Instagram or Twitter, we’d love to see them!