Topping texture pastes with glitter and embossing powders!
The Vintage Flourishes and Vintage Lace Doily stencils were our first ever stencils and we still can’t stop crafting with them!! I’m going to show you a couple of techniques using texture pastes which have blown me away! It started off as an experiment and I stared at the end result in amazement and thought, yes I’m DEFINITELY trying that again! The incredible results seem to be a combination of the unusually thick mylar our stencils are made from (which gives you a lovely depth with texture pastes) and technique know-how – which is why I wanted to share some tips with you all.
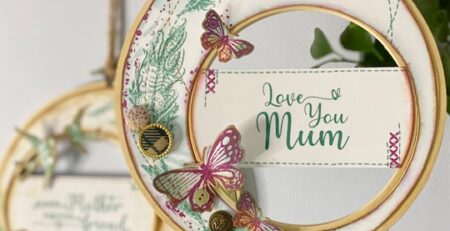
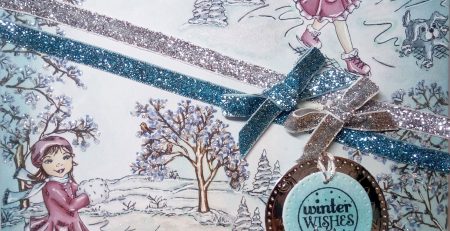
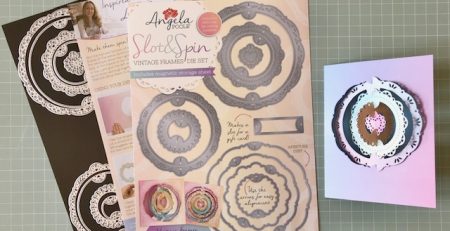
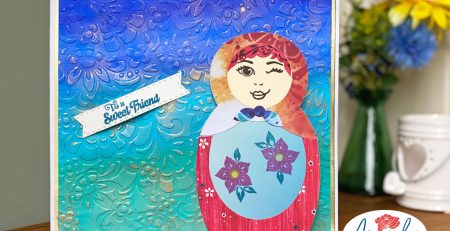
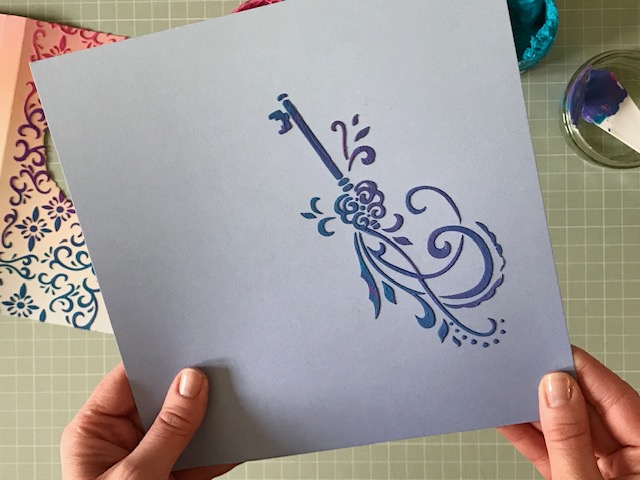
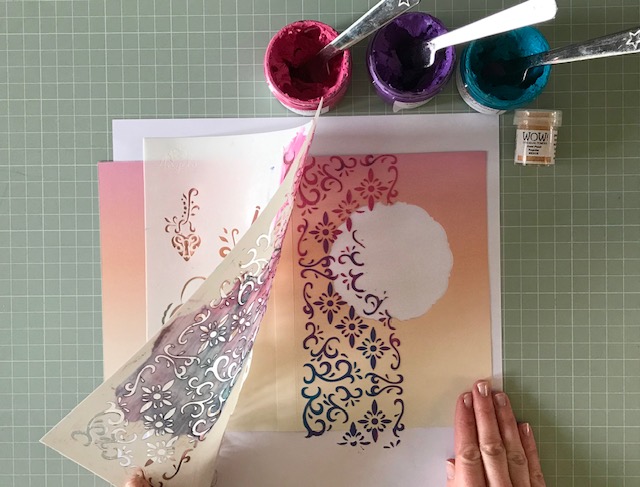
This card has been made using our Slot & Spin Vintage Frames die set, but you can use any of the Slot & Spin dies for this project. I’ve also used the Vintage Flourishes stencil. I’ve used three bright colours of Texturing Paste by Pearlywinks in Bubblegum Pink, Iris Purple and Blue Jade. In this close up you can see the lovely depth of the stencilled pattern. It’s a card that you can’t help but stroke the surface! Haha. Stange thing to say I know, but you can’t help it! Before the paste dried, I sprinkled Wow! Earth Sparkles, Squid over the top, to give it a touch of sparkle.

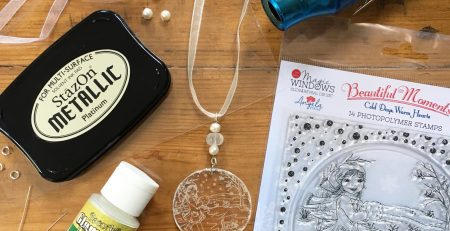
In this example, I applied the texture paste in the same way but this time, I applied Wow! Gold Pearl embossing powder, and left it to dry before using a heat gun to melt the powder. The combination of the multi coloured edges of the paste and the metallic surface is fantastic!
If you’d like to give these techniques a go, here’s how. . .
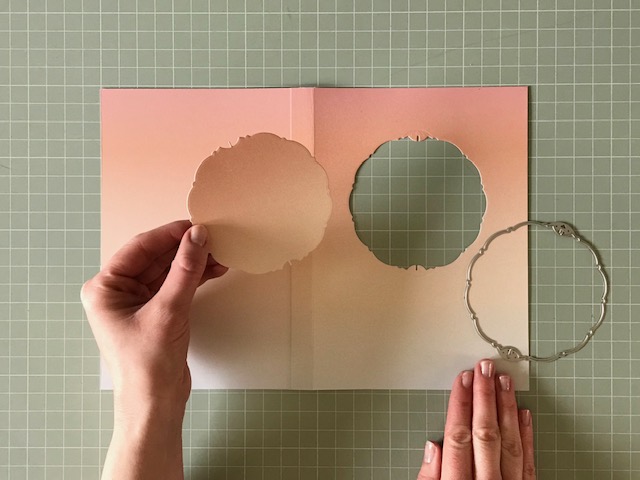
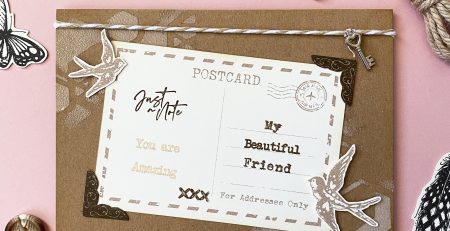
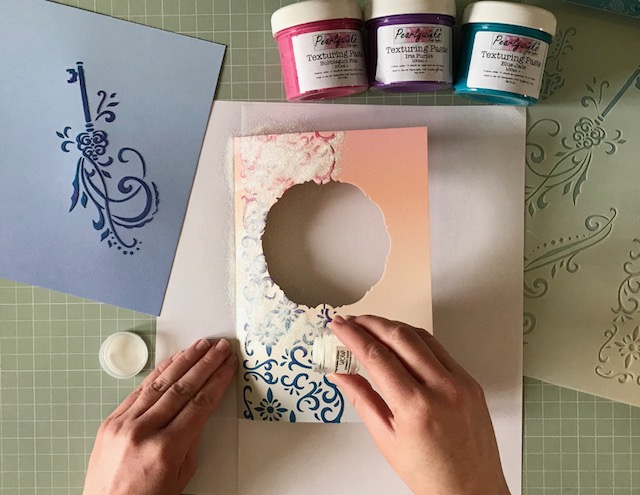
Start by cutting an aperture from a card base using one of our Slot & Spin die sets. This card base was made using our Enchanted Mist card pack. The aperture was cut first because I wanted to retain the full height of the texture paste through the stencil – without running it through a die cutting machine.
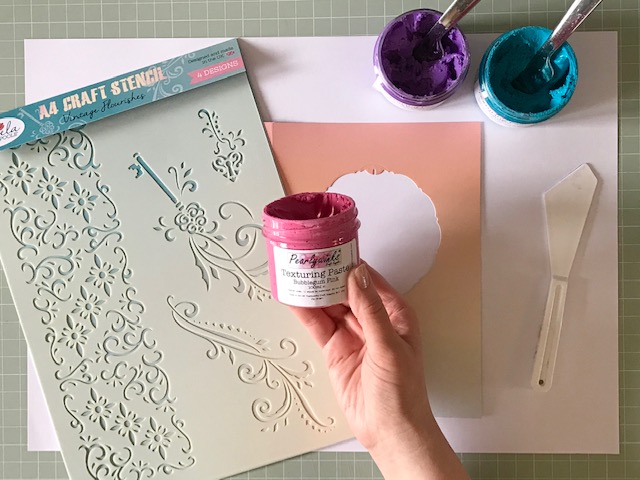
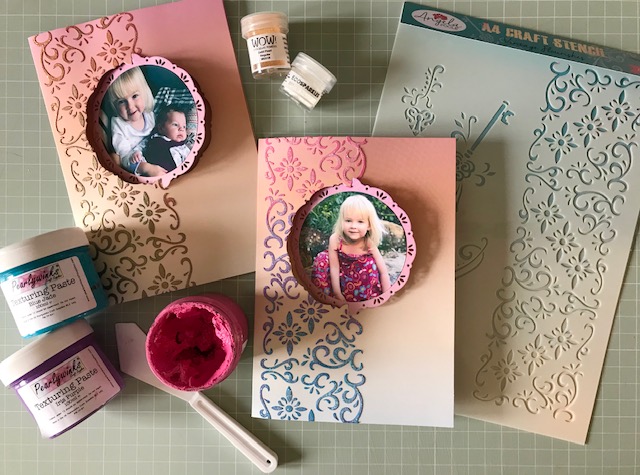
This is one of Pearlywinks Texturing Pastes. I’m really enjoying using them because of the bright colours and chalky finish when they dry, but most of all because they rinse off of stencils SO EASILY! I’m serious – running water and no intense scrubbing required!
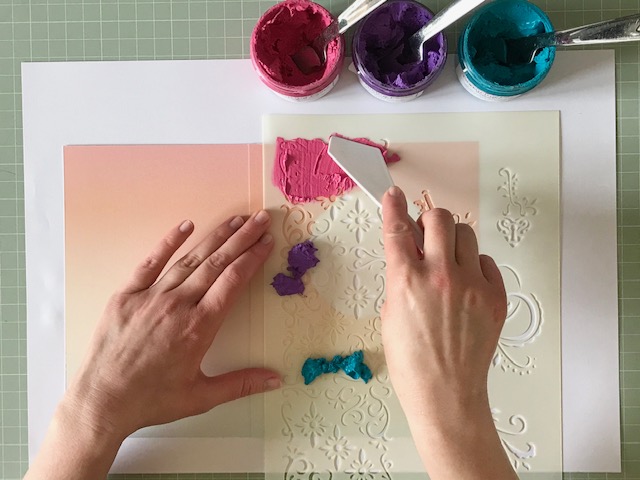
I wanted to created a multi coloured effect and so I placed a small amount of each colour over different areas of the stencil. I used a tool to smooth the texture over the surface of the stencil. I must remember to buy a large cake icing smoother as I think that will make it even easier!
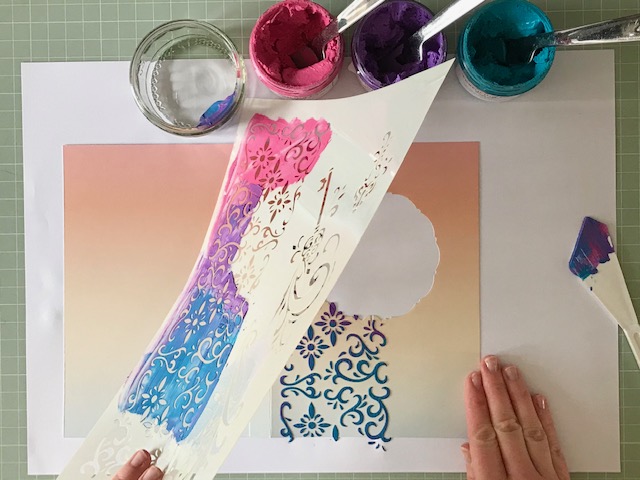
Put any left-over texture paste from the mixed colours into a separate bowl. You can then lift the stencil to reveal the design.
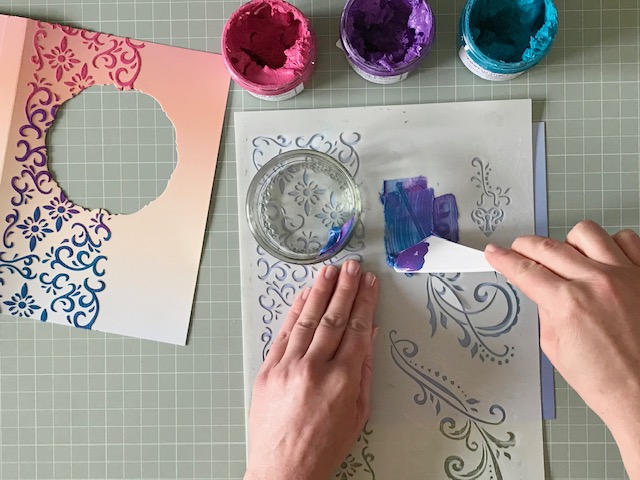
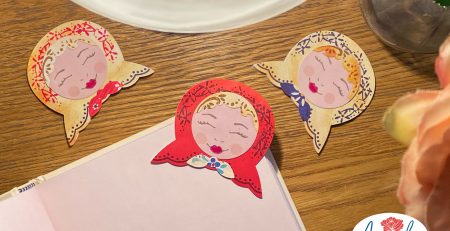
This is a quick side step from the how-to because like many crafters, I don’t like waste! Unless you have a small storage pot with a lid to store the excess paste, I recommend using it to stencil some of the smaller motifs on the stencil sheet – they’re great to have prepared for other card designs.
Here’s how the key and flourish came out using the left over paste. There was enough to make two of these.
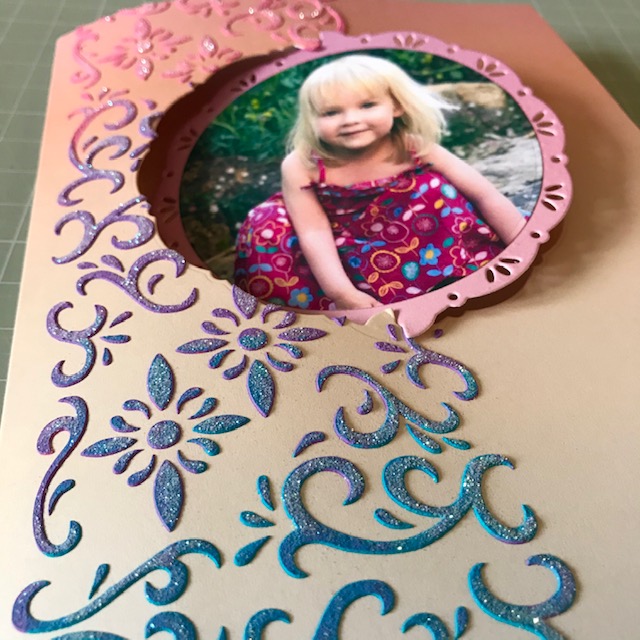
Back to the main design. I’ve found that the pastes take around 1.5 hours to dry. Whilst the paste is still wet, sprinkle glitter over the surface – like the Earth Sparkles from Wow!. I’m so pleased that they launched their range of biodegradable glitters.
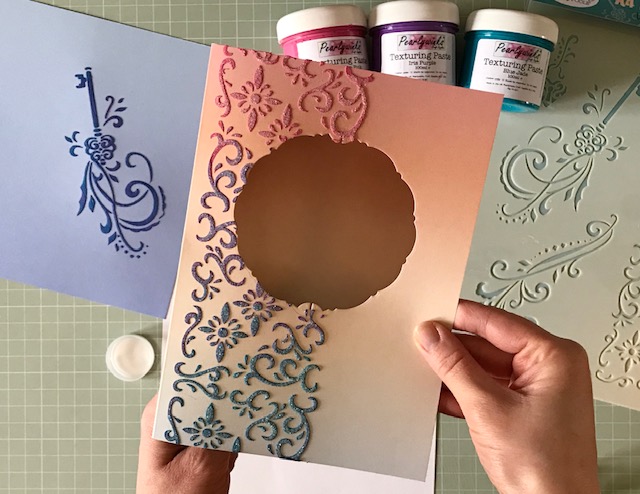
Here’s how the design looks with the glitter topped texture paste! I’ve used an iridescent glitter but I can’t wait to try out different colours.

As many of you know, I love to personalise handmade cards with photos. It makes cards so personal and for me, that’s one of the main reasons I make cards for my friends and family.
If you have a set of nesting circle dies, then choose a circle die slightly smaller than the frame you wish to use.

Using the outer frame die only from the Slot & Spin die set, will allow you to die-cut a solid spinning panel. You can then attach your photo using a glue stick.
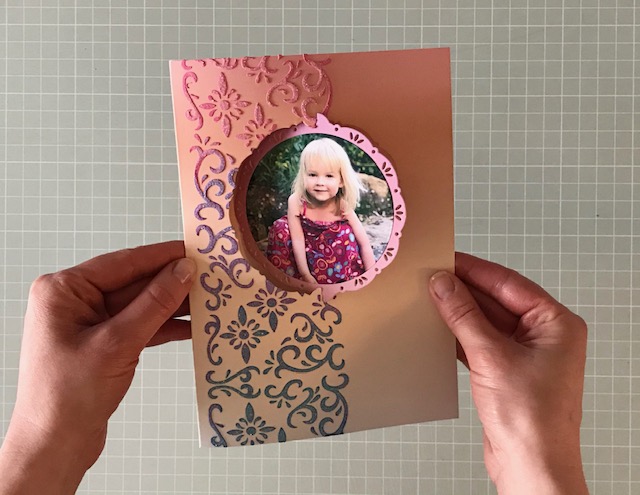
The slots in the panel and aperture will connect, and allow the photo to spin – you could even attach a different photo on the other side!
So, that was how to make glitter topped texture paste and here’s a quick guide for using embossing powders. . .
Here’s the same stencilled design revealed again. You can of course use just one colour of paste but if you have more than one colour, I say go for it!
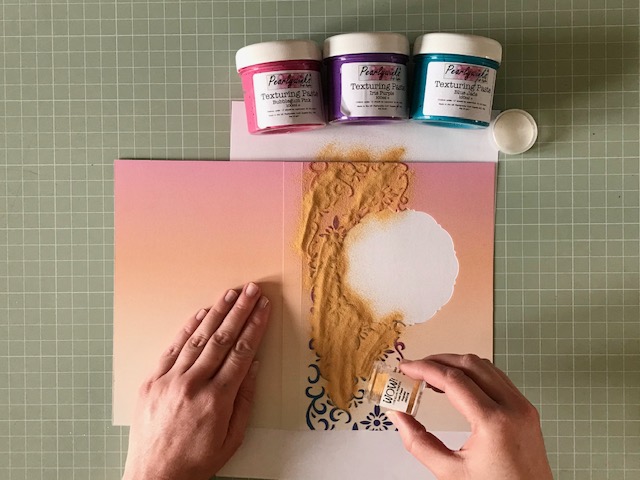
This time, I’m sprinkling the surface with Gold Pearl Wow! embossing powder. After shaking off the excess powder, leave the paste to dry naturally for around 1.5 hours. You can rub an anti-static pad over the surface of your card before stencilling but remember to rub the back of the stencil with it too. I completely forgot to do this and it turned out fine though. Once the texture paste is dry, it was quite easy to use a dry paint brush to brush away any unwanted embossing powder.
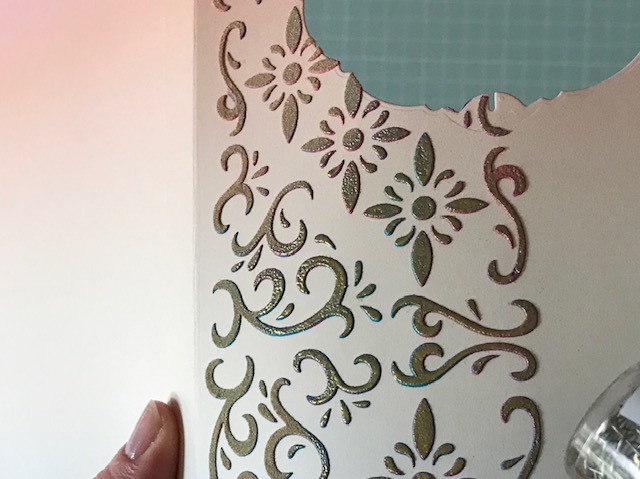
Use a heat gun to heat the surface of the embossing powder. I’m quite taken with the pearl embossing powders as they’re more of a tint and work well over different colours – which is great for this texture paste experiment but also over the ombre colours in our Enchanted Mist card pack.
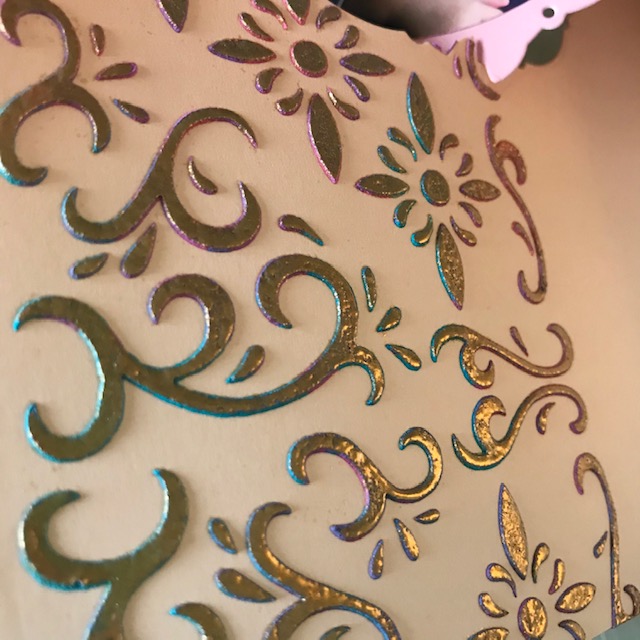
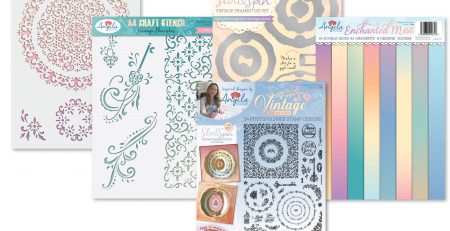
To me, this effect is almost petrol like. I can’t wait to try out other colour combinations by changing the colour of the texture paste and the embossing powder!!
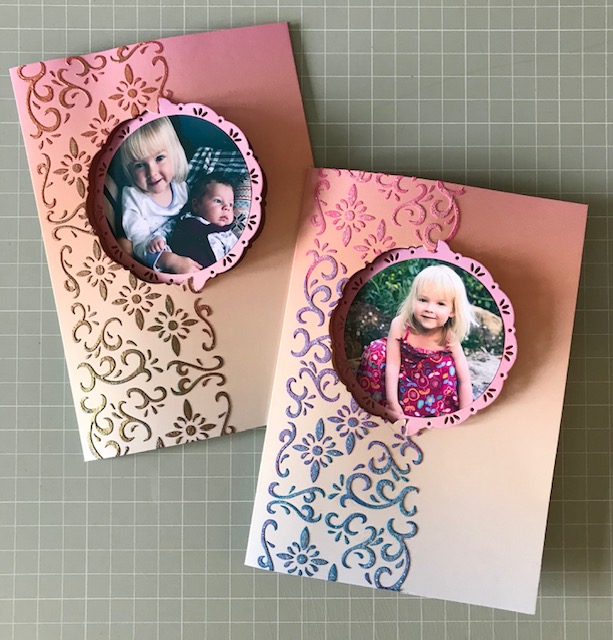
Here are the two similar, yet different cards alongside each other. I hope you enjoy trying out these techniques with the craft supplies you have at home.
Angela
X