NEW Slot & Spin Die Set – How to make cards that SPIN!
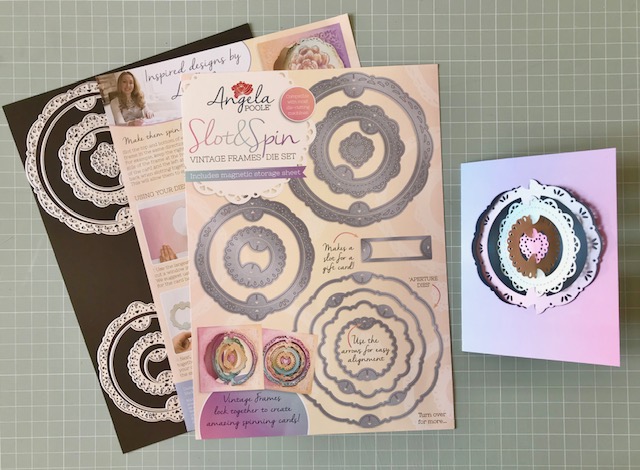
It has been great to finally share the news of our brand new Slot & Spin Vintage Frames die set with you all!
What makes this die set so fantastic is how versatile its is. You can mix and match the dies to cut different sized apertures within different sized cards – and choose whether to have solid spinning panels, delicate narrow frames, wider frames or a combination of both?!
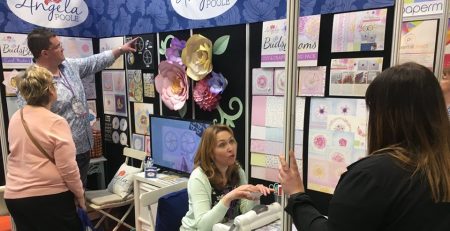
We felt overwhelmed by the positive response when we launched this collection live on HOCHANDA! One of the presenters asked me during a show, “So, it doesn’t require any adhesives??!” Now, I’ll admit that as I’ve been developing this die set for so long, I was completely used to the fact that no, it doesn’t require any adhesives – and I’d overlooked just how unusual that is!! The frames slot together and it’s the precise sizing of the slots which holds them in place.
The frames need to be cut from card no less than 250gsm (92lbs) and I’d recommend 300gsm (111 lbs) such as our Enchanted Mist card pack. This ‘back to basics’ guide is to show you how quick and easy these incredible, spinning cards are to make!
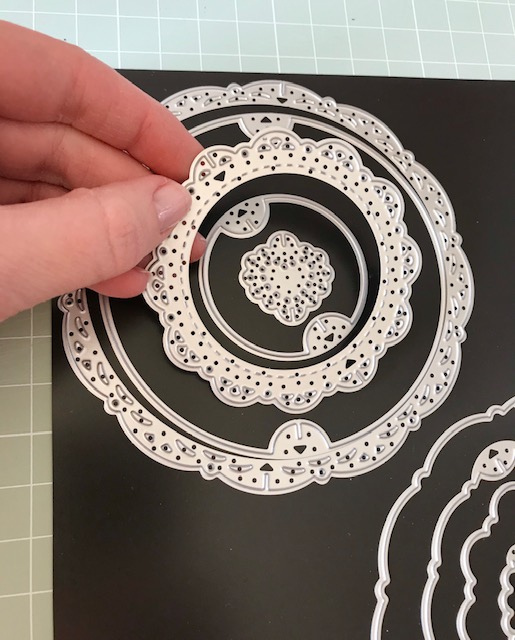
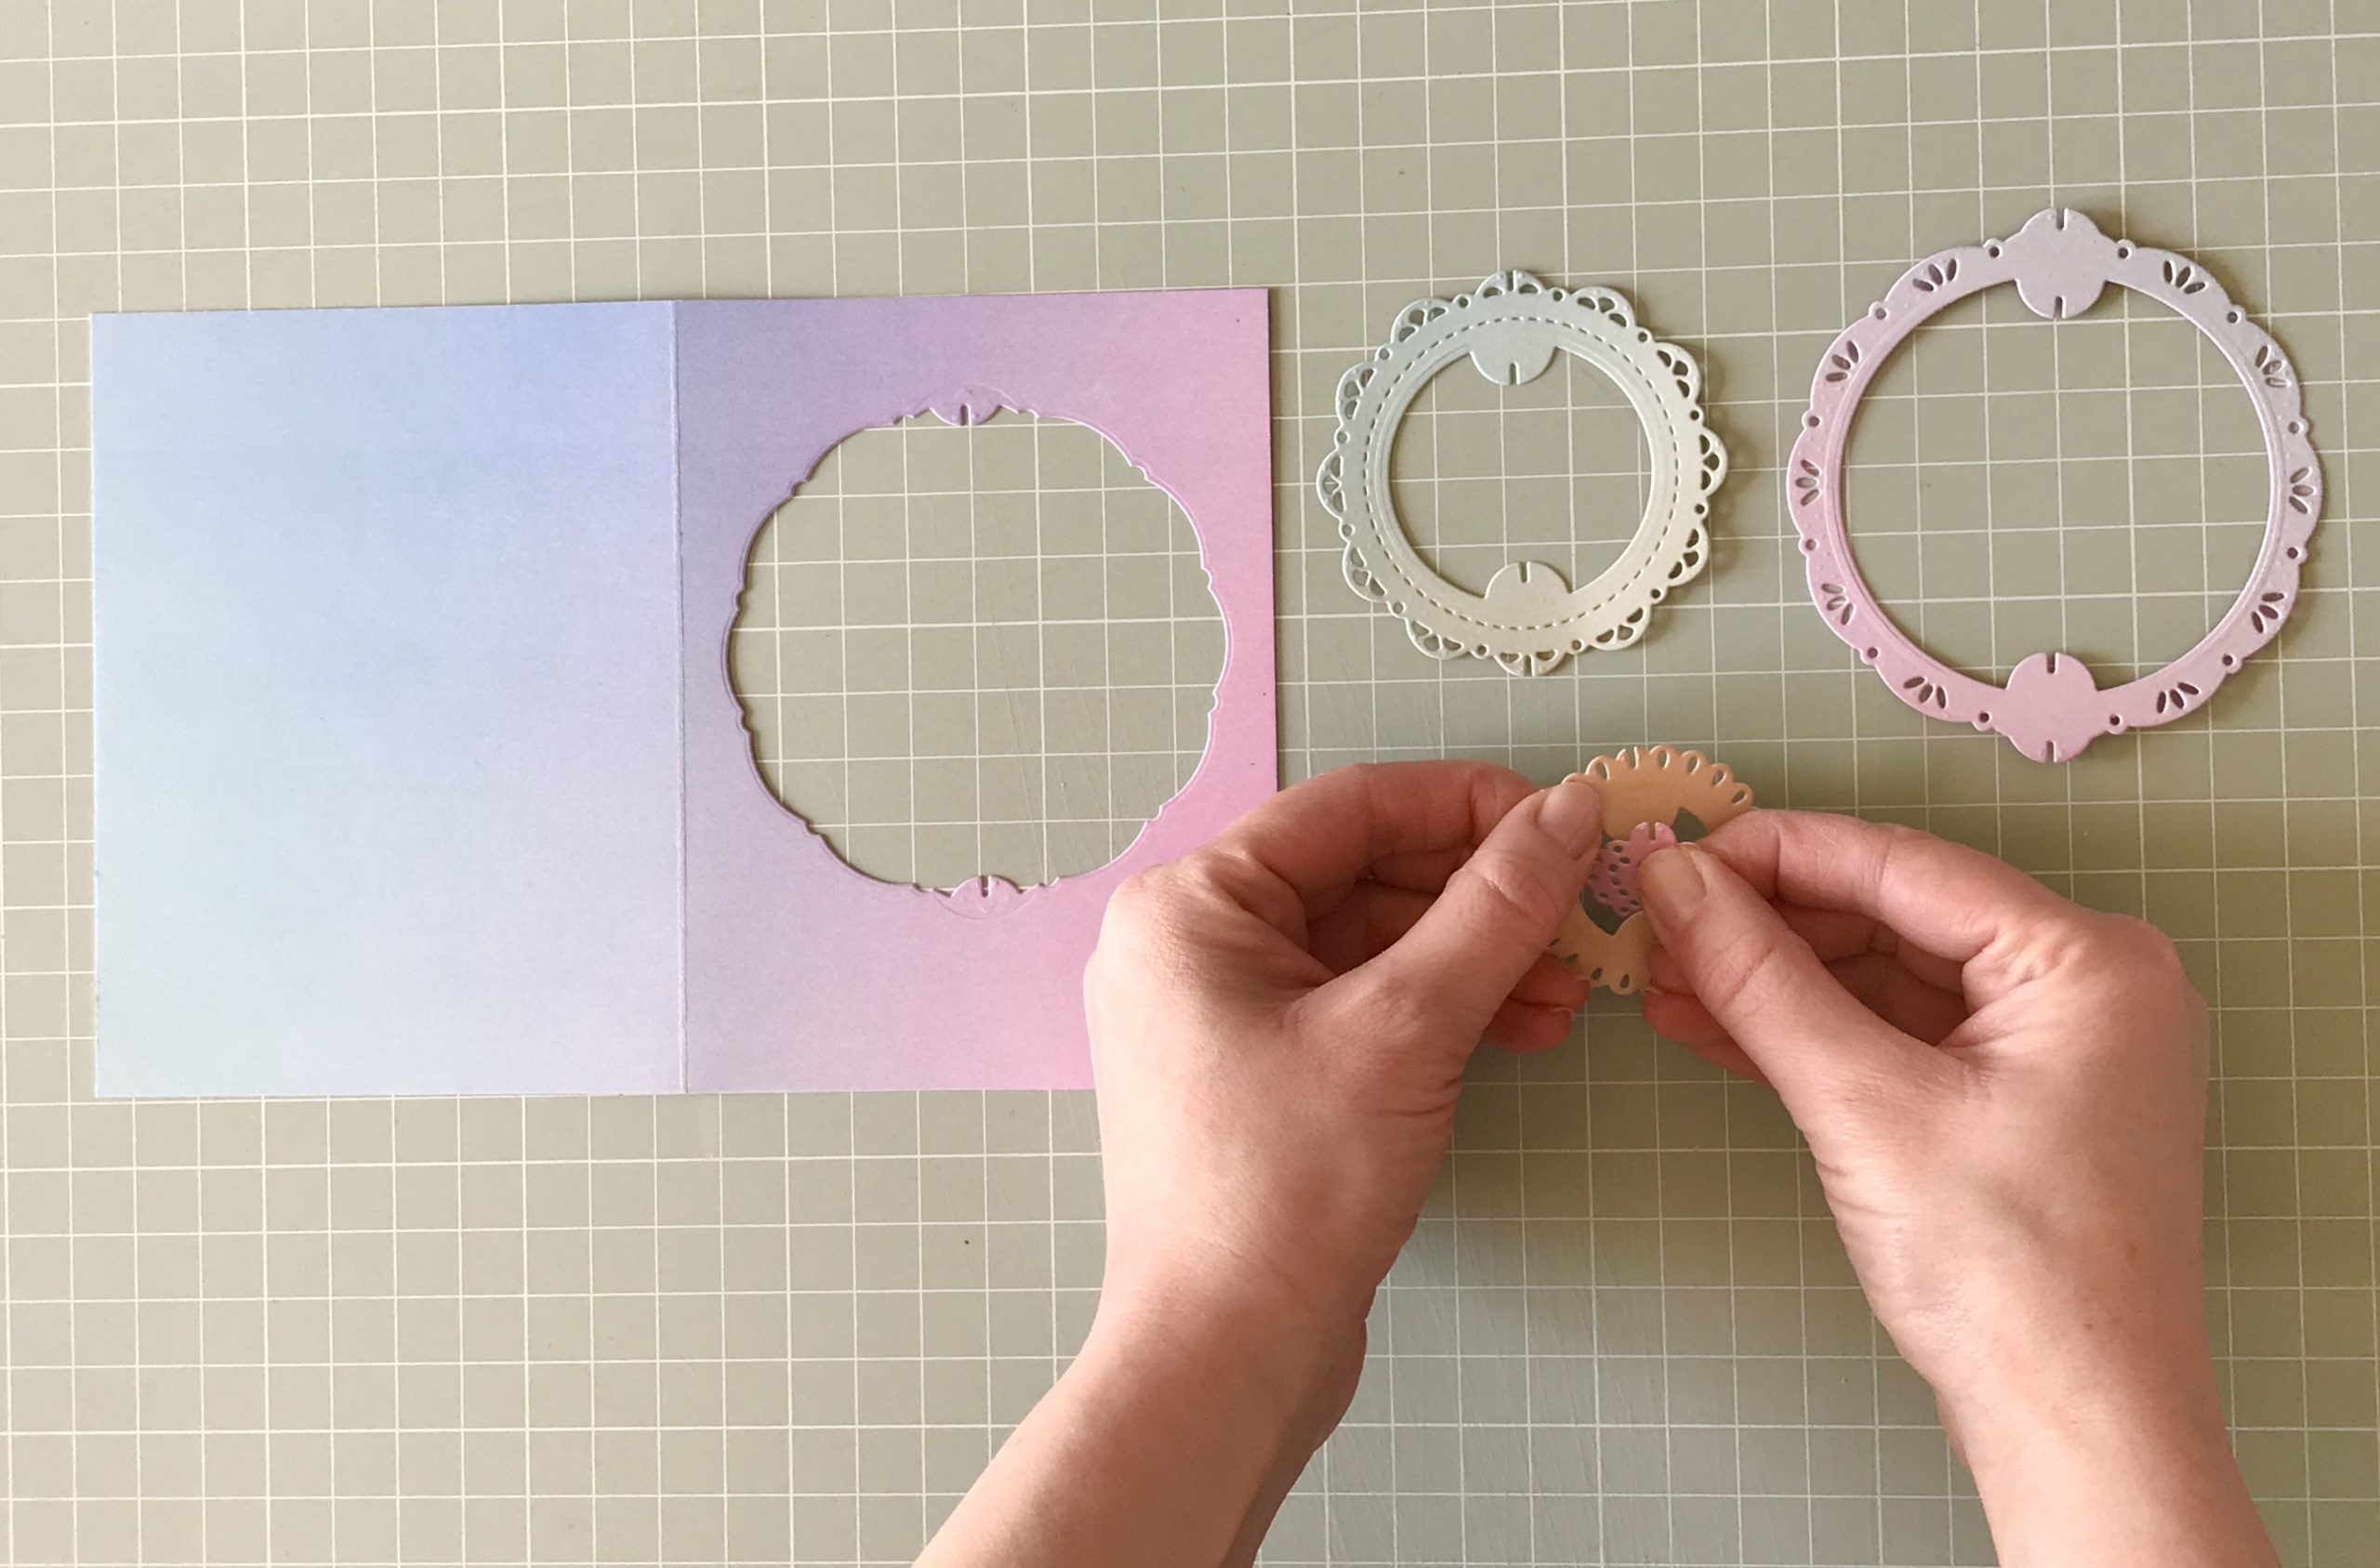
Here’s a close up of some of the dies. There are 14 dies in the set and they’re packaged on a handy magnetic storage sheet. You can see how two of the dies nest together. You can use both the outer and inner dies together to cut frames, or the outer die on its own to cut a solid panel.
Once you start playing with the set, you’ll see how the apertures can be used as inner dies for frames with decorative edges on both sides, and also how you can choose much smaller inner dies to die-cut wider frames. Our DT are having SO MUCH fun playing with this die set and I’m trying to keep up with the Enchanted Mist card pack requests for all of their planned makes!
You don’t need an extra large die-cutting machine either. The largest aperture die measures 12.7cm (5in) and you can start with a smaller aperture die, if you’d like to make smaller cards. There’s also a die included which cuts the slots to hold a gift card. You can cut this into the back of a card but I’m enjoying making cards with a large solid spinning panel – with a pretty design on one side, spinning to reveal a gift card on the other! I’ll write a quick how-to guide for this technique soon.
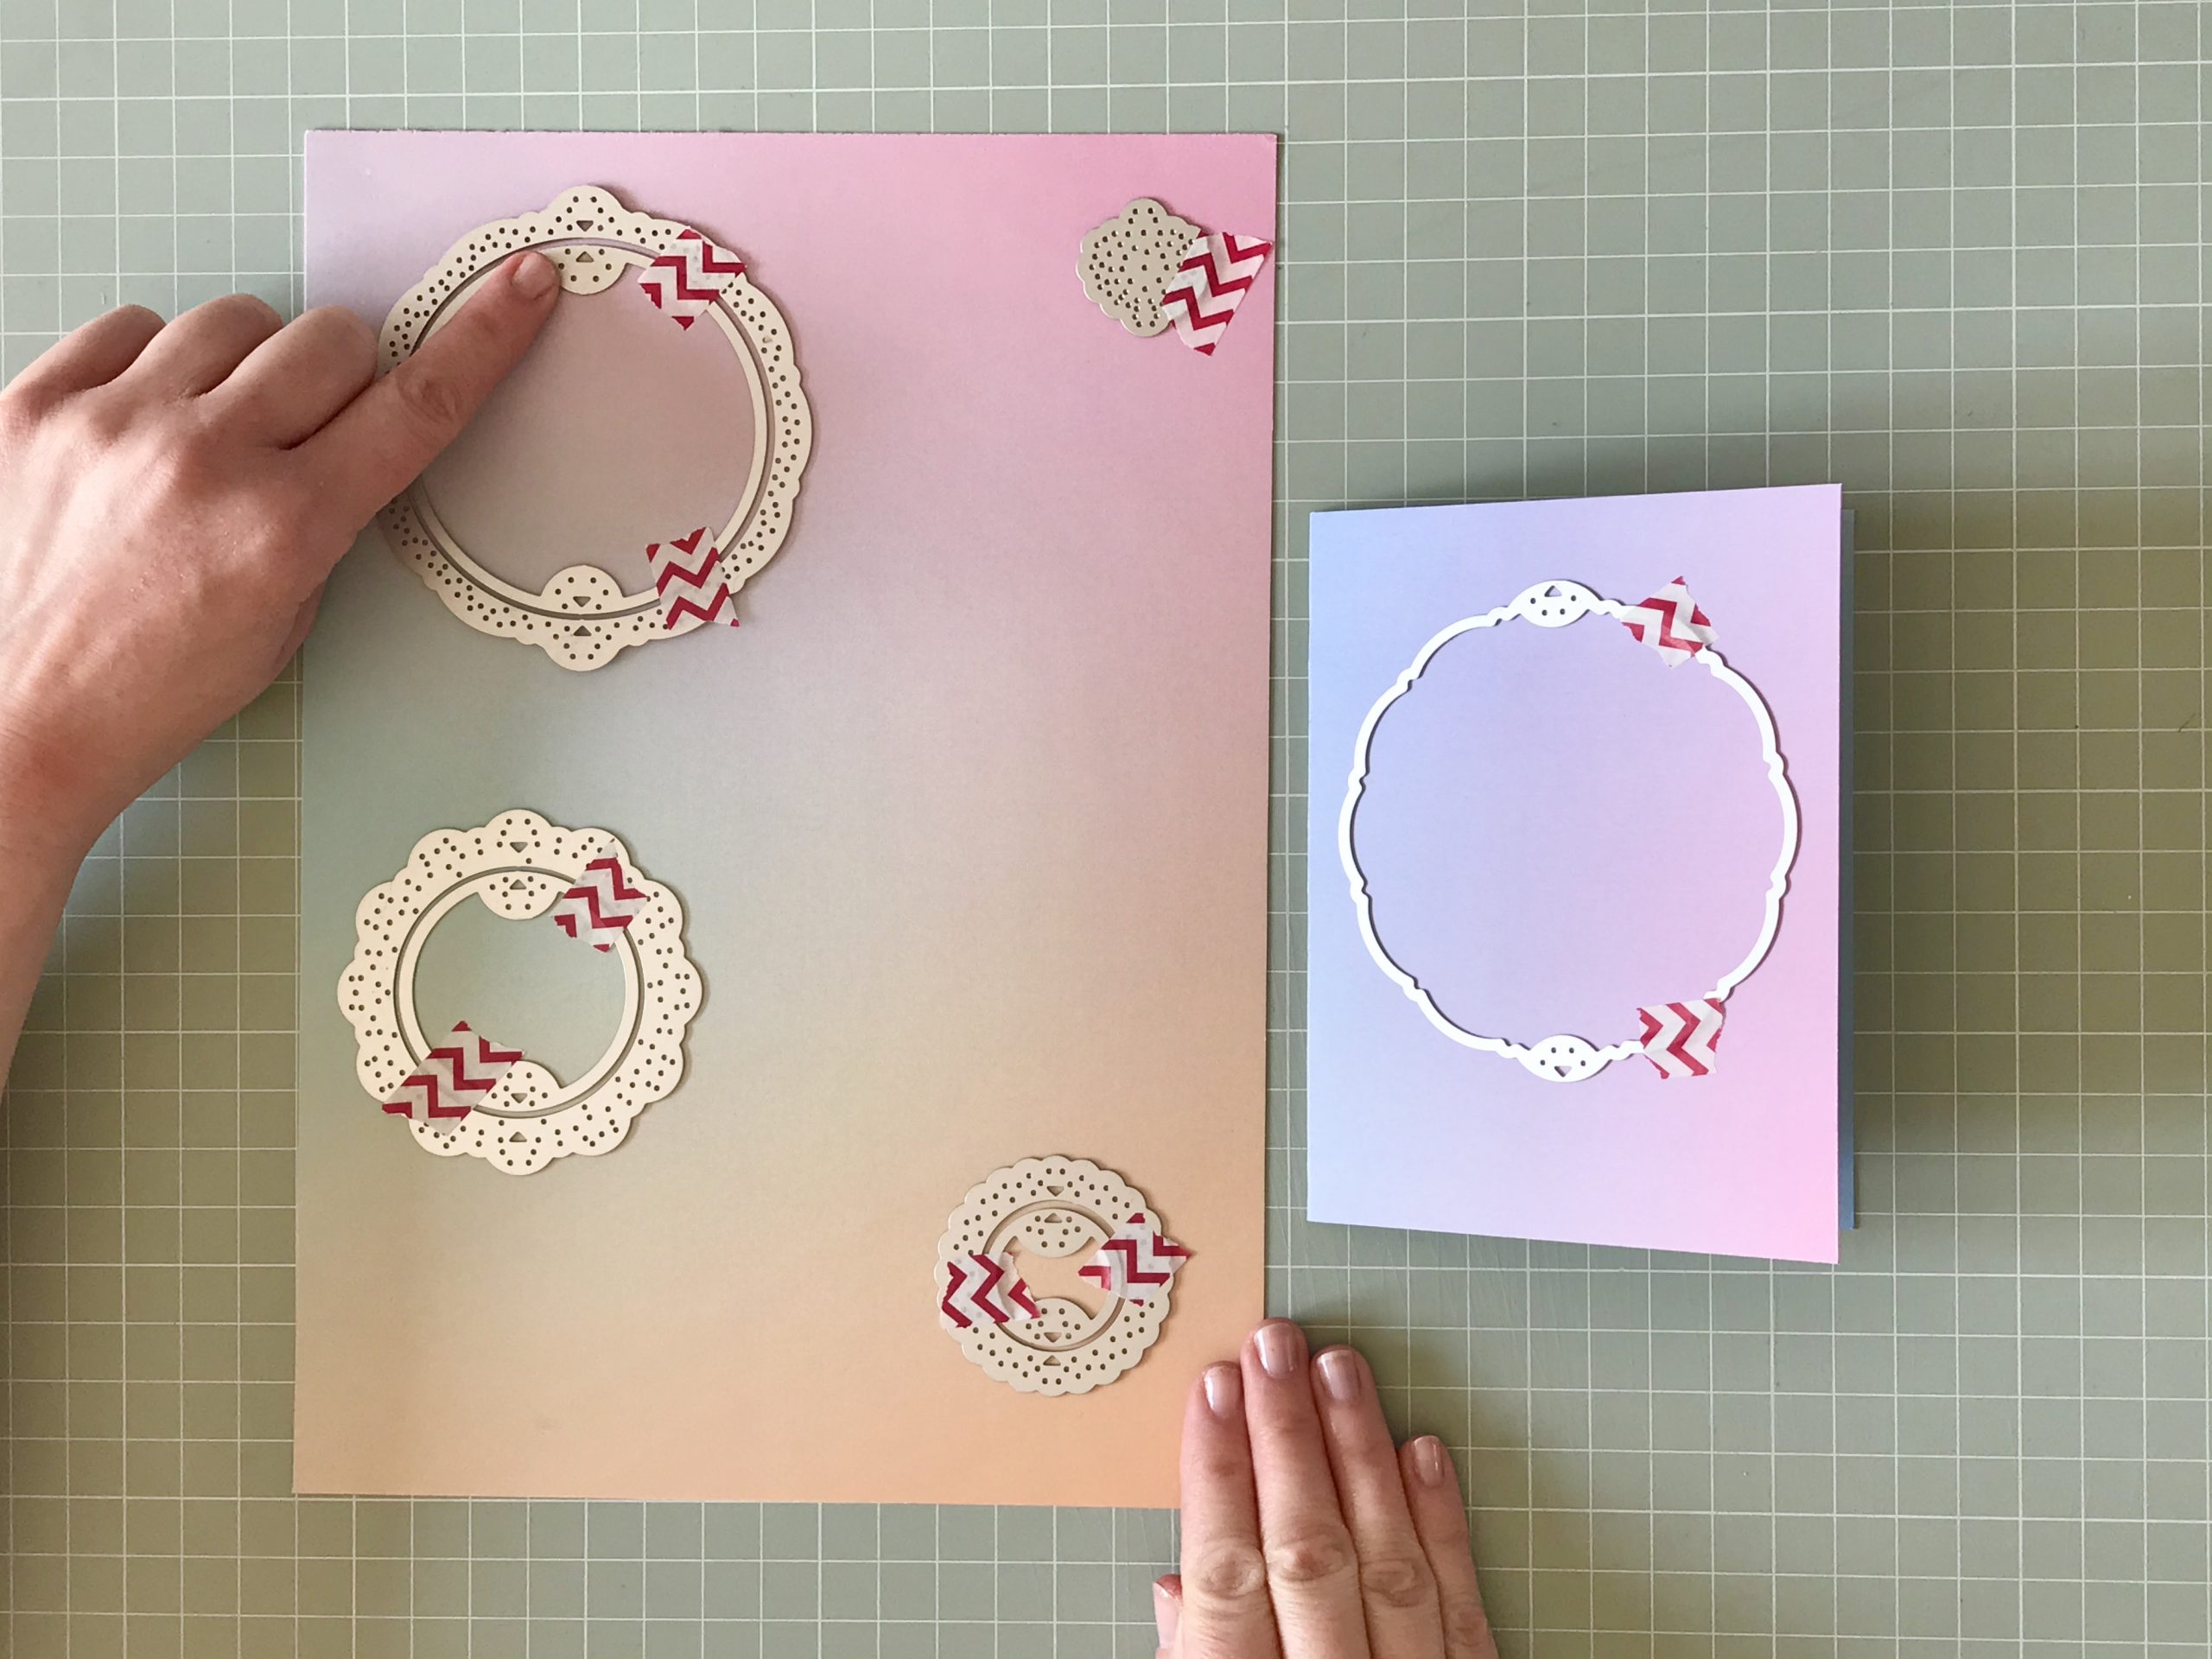
Ok so back to basics! Here I’ve placed an aperture die on a folded card base and held it in place with washi tape. The arrows on the die are pointing to the top and bottom of the card as I’d like this card to spin vertically. On the Enchanted Mist card sheet, I’ve placed 3 frame dies (the outer and inner dies nested together) and I’ve lined all of the triangles up together at the top and bottom. I’ve also placed the little heart die at the top right corner of the card.
Now, this is a basics post but things do get interesting when you start experimenting with the angles of the outer and inner slots – you can create all sorts of spinning effects!
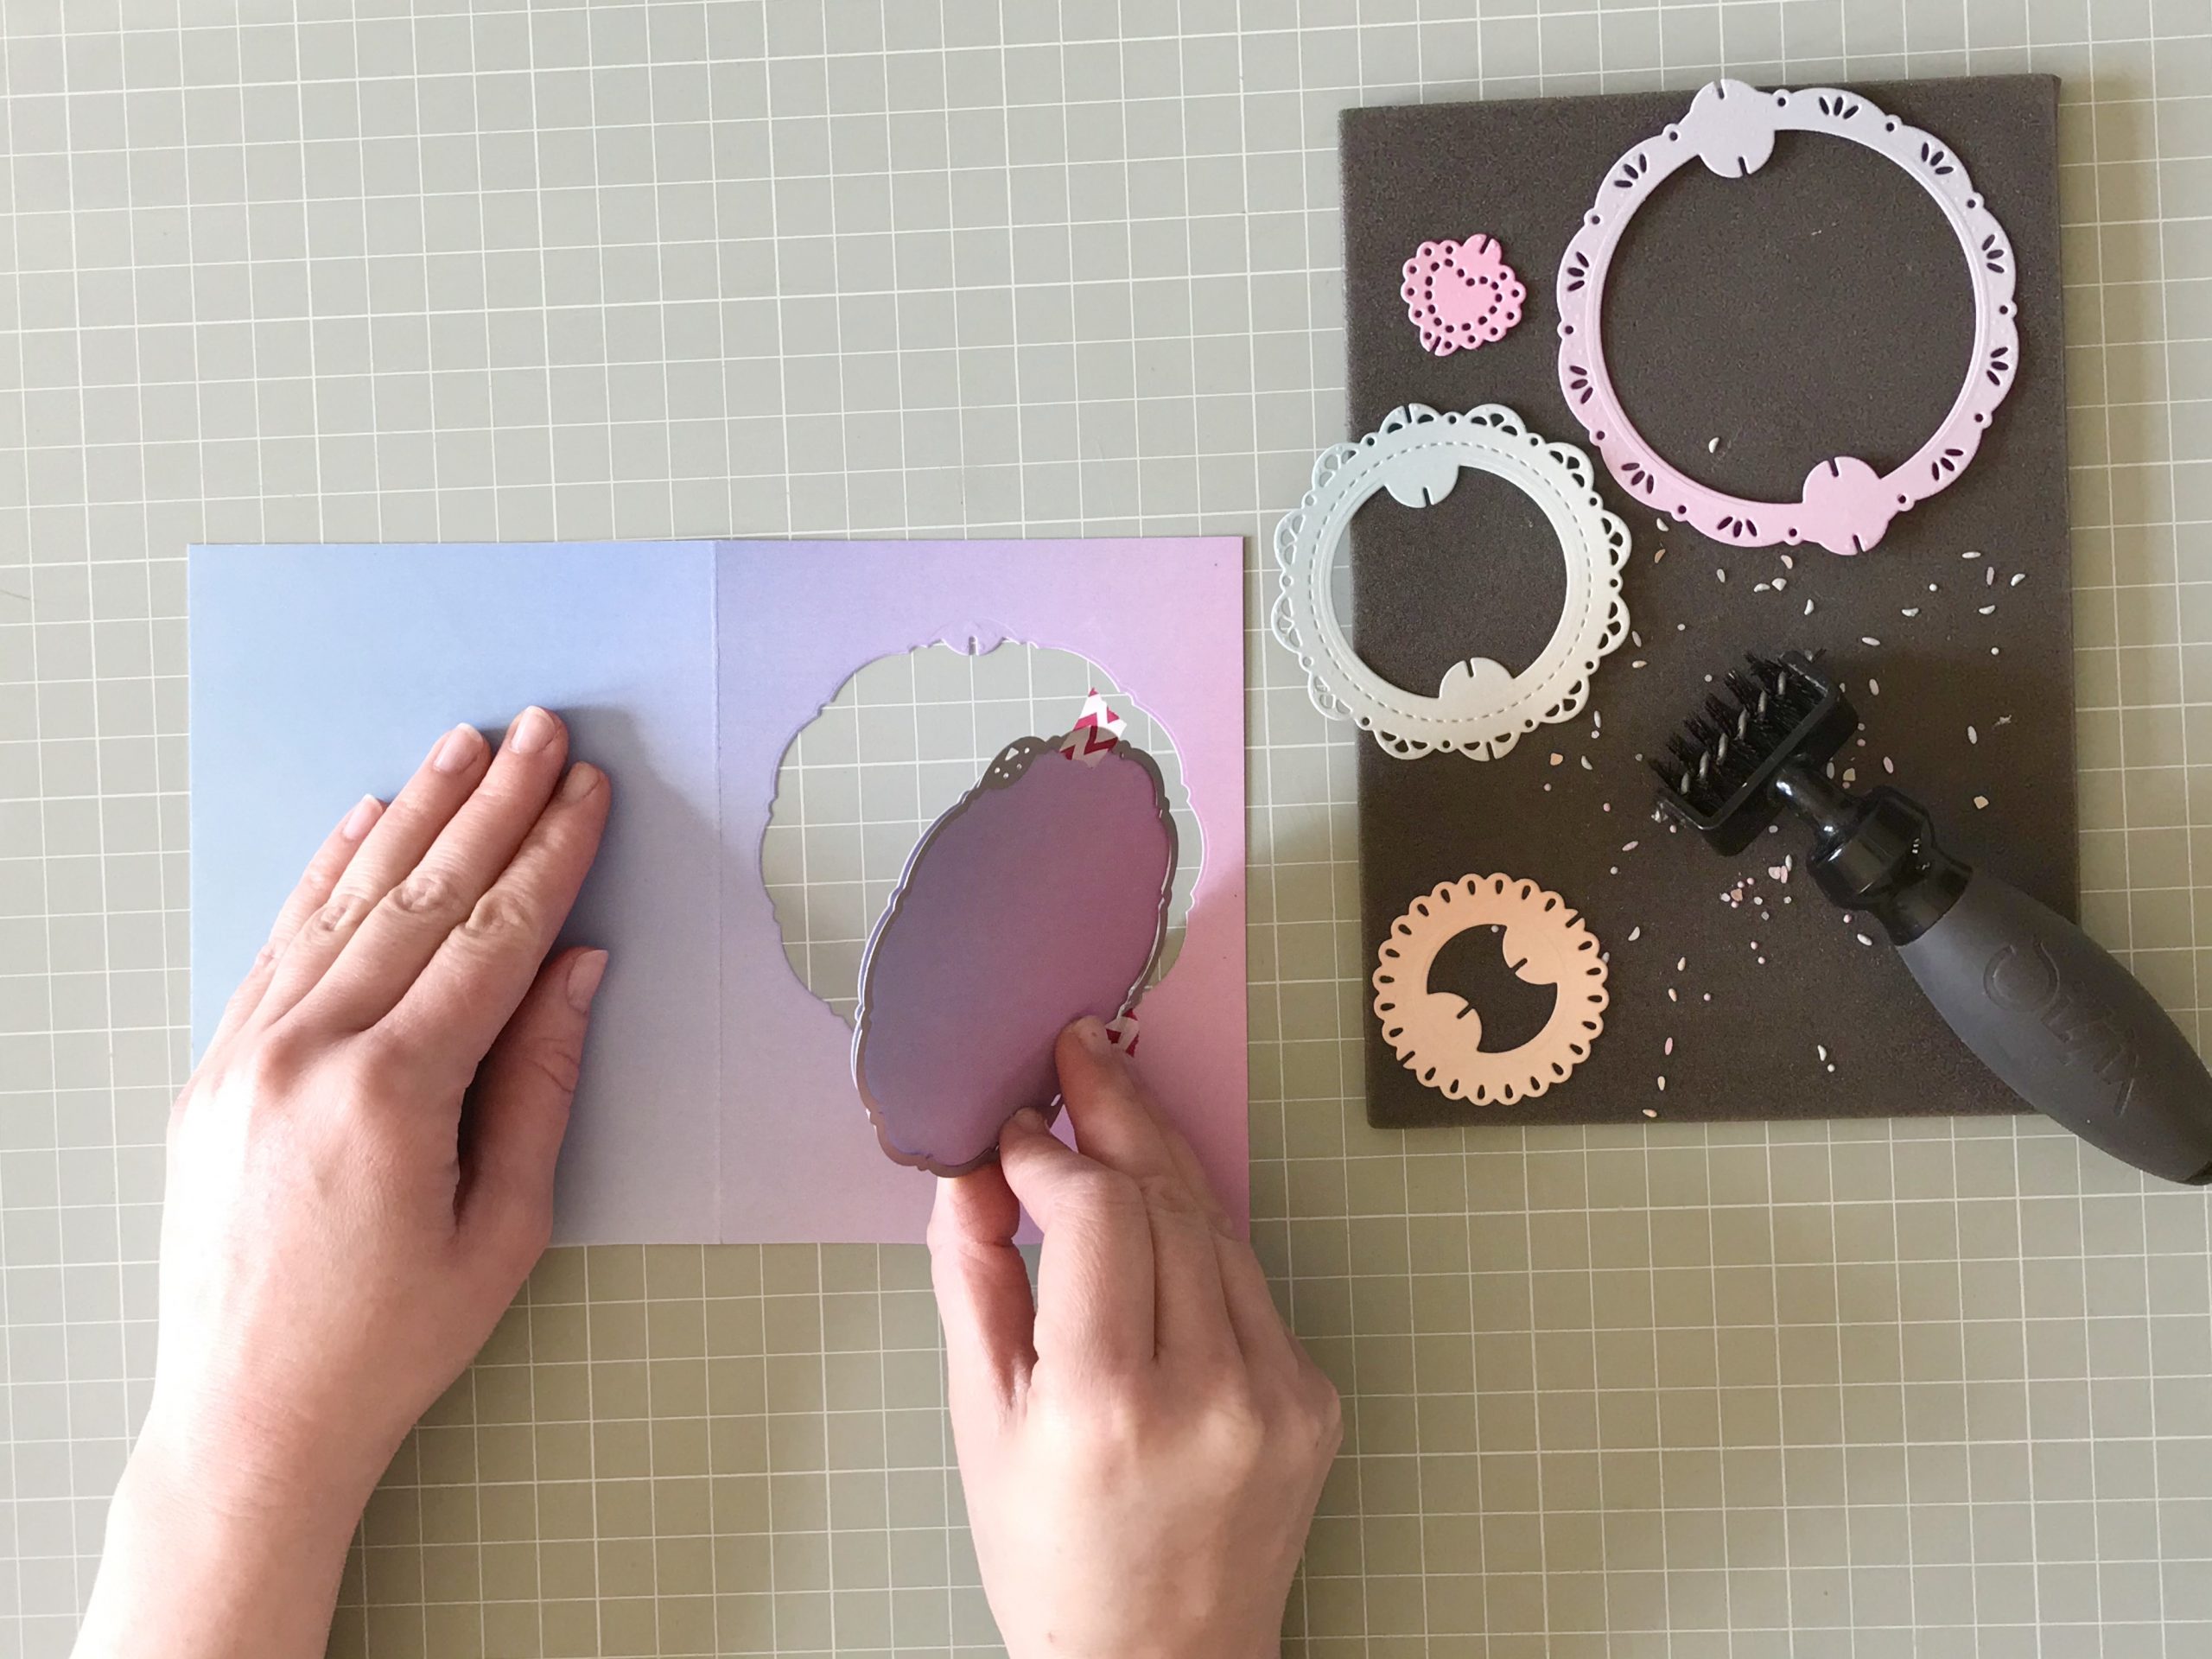
Remove the dies and any left-over waste. Zoe Hope from our DT taught me recently that rubbing dies with a dry tumble-dryer sheet helps the waste pieces to fall out – which I need to try out ASAP!
I love it when crafters share tips like this. Zoe, thank you!
Because the die-cut pieces slot perfectly together, you will need to ease each piece into the corresponding slot. Flex the card slightly to connect the slots. This snug fit is what keeps the frames connected – and maintains the strength of the card. I’d recommend starting with the smallest piece/frame and working up until you’re ready to connect it to the aperture.
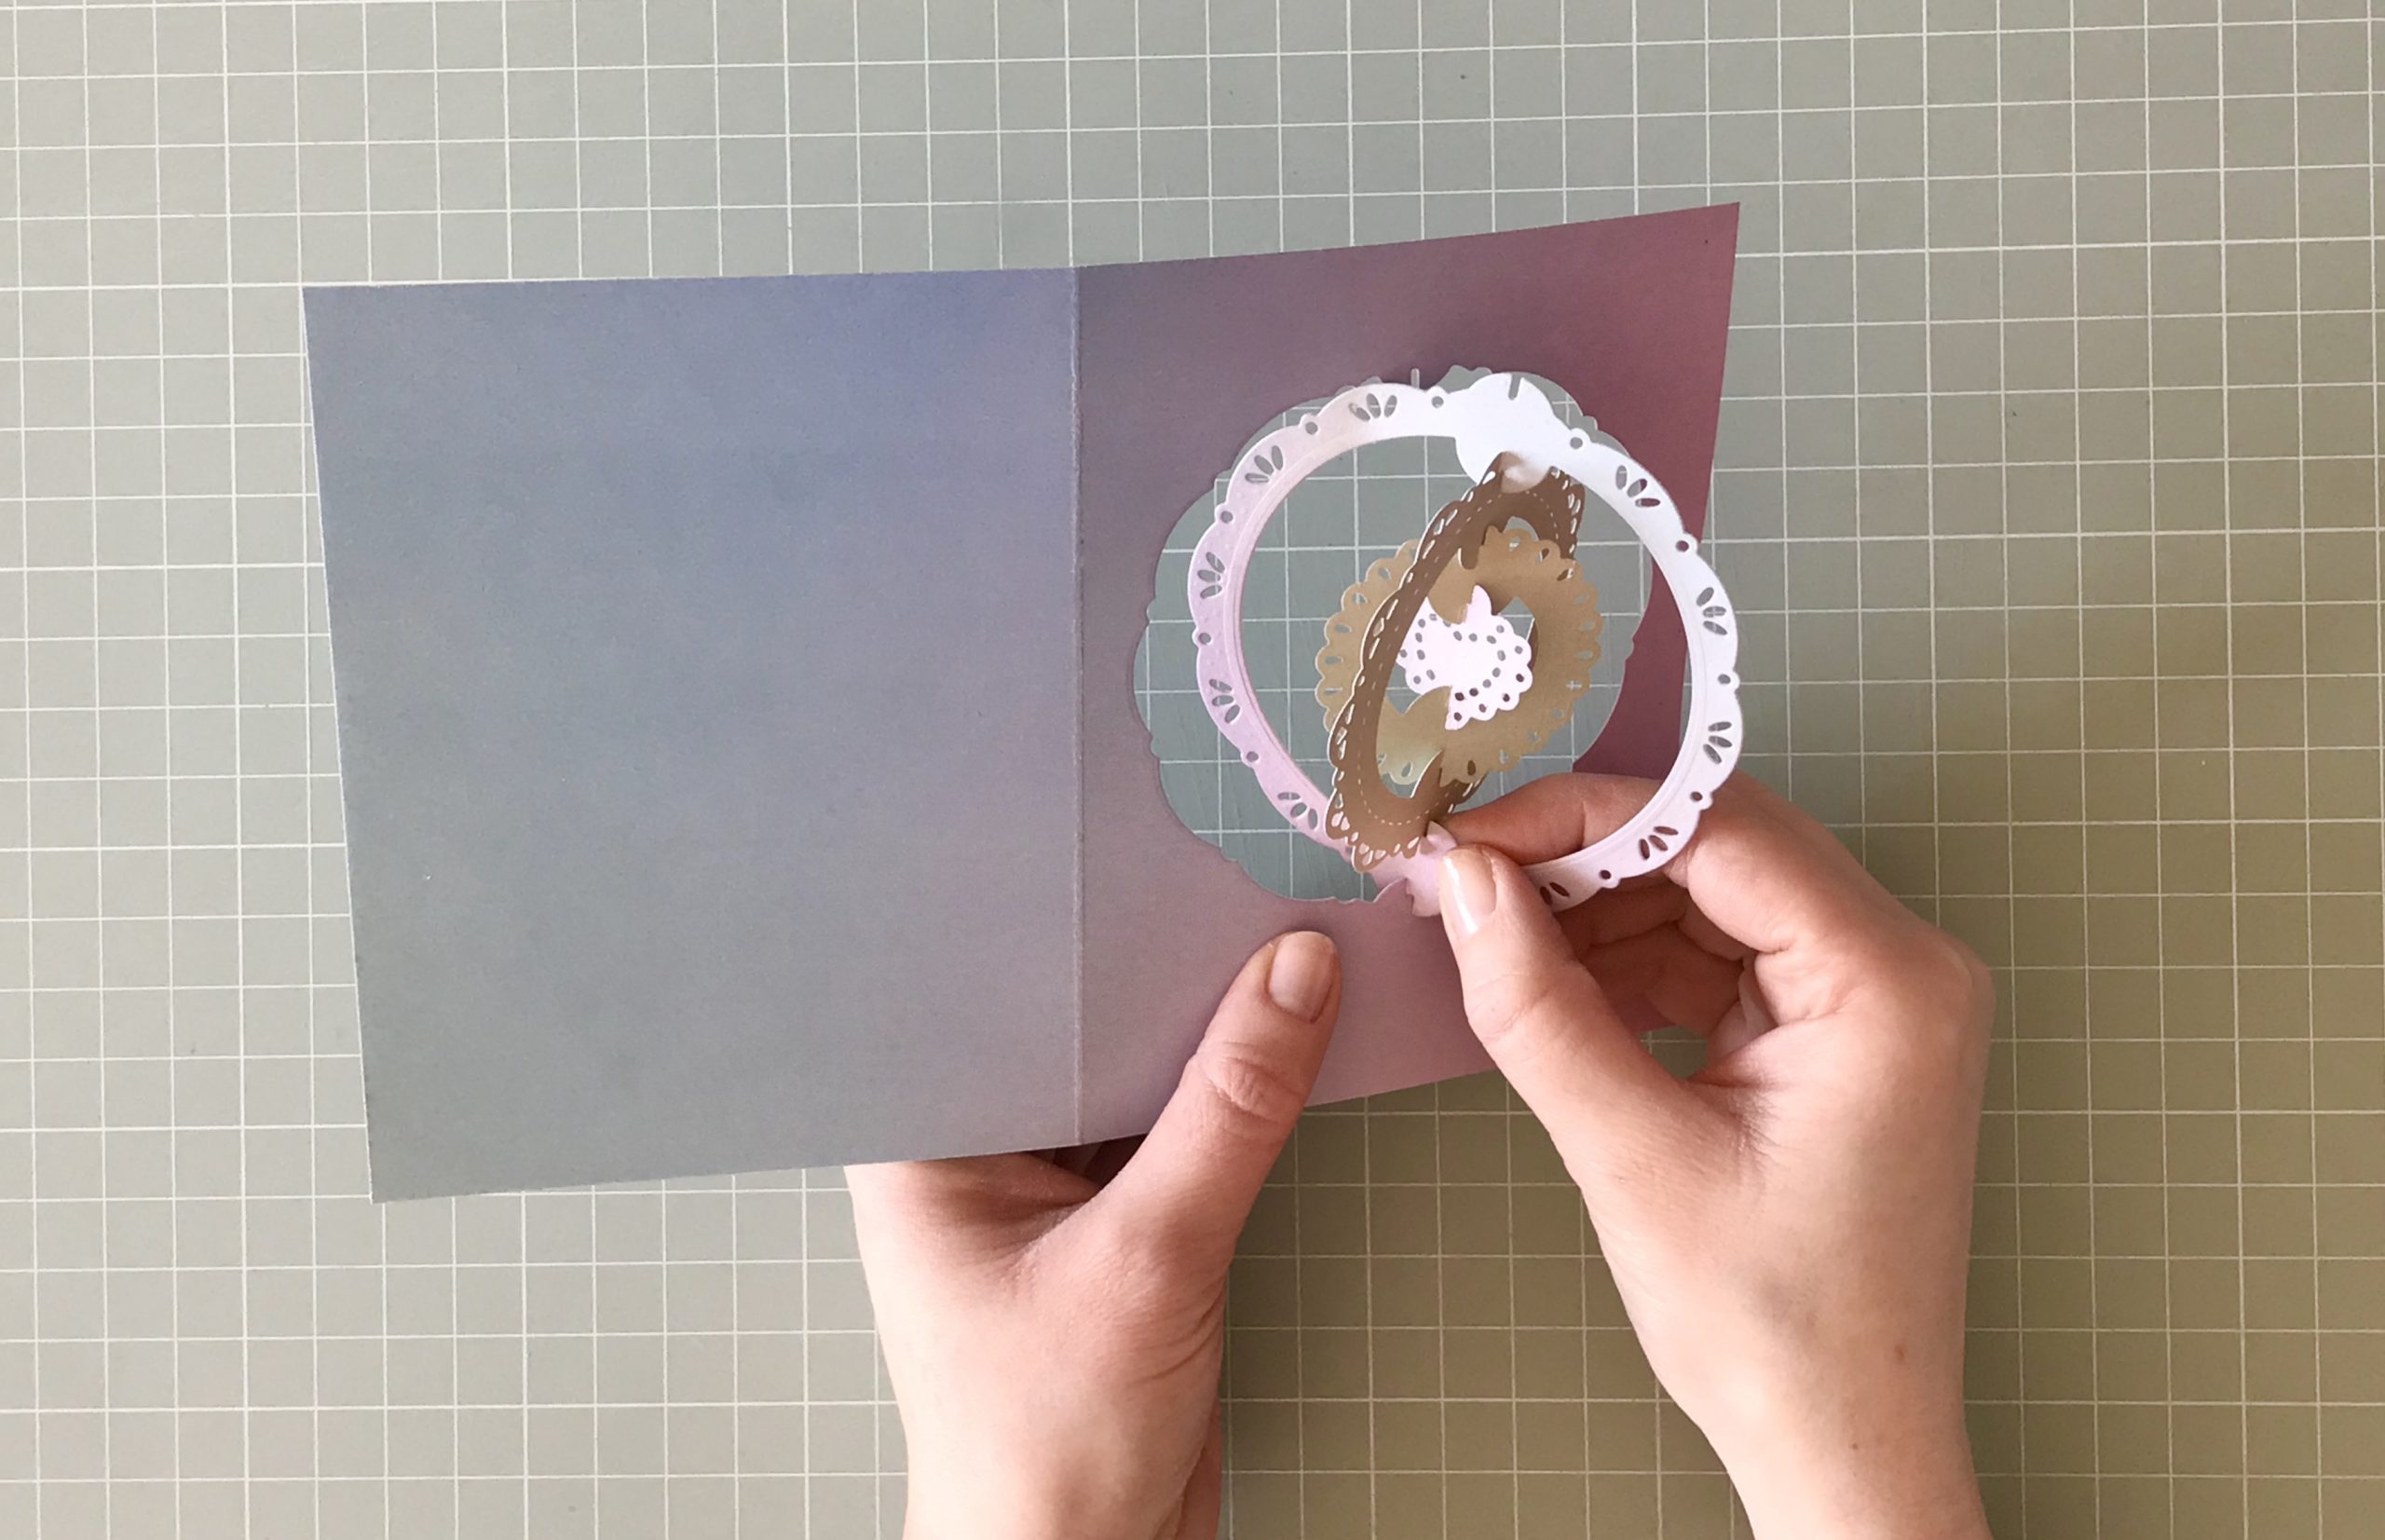
I tend to work by connecting the bottom slots together first and then the top ones but it really doesn’t matter which way you do it. The main thing to remember is to be consistent when connecting them, so that the top and bottom of each frame/panel faces the same direction so that they spin. If you alternate the connection then this will allow you to deliberately ‘lock’ the frame/panel so that it won’t spin.
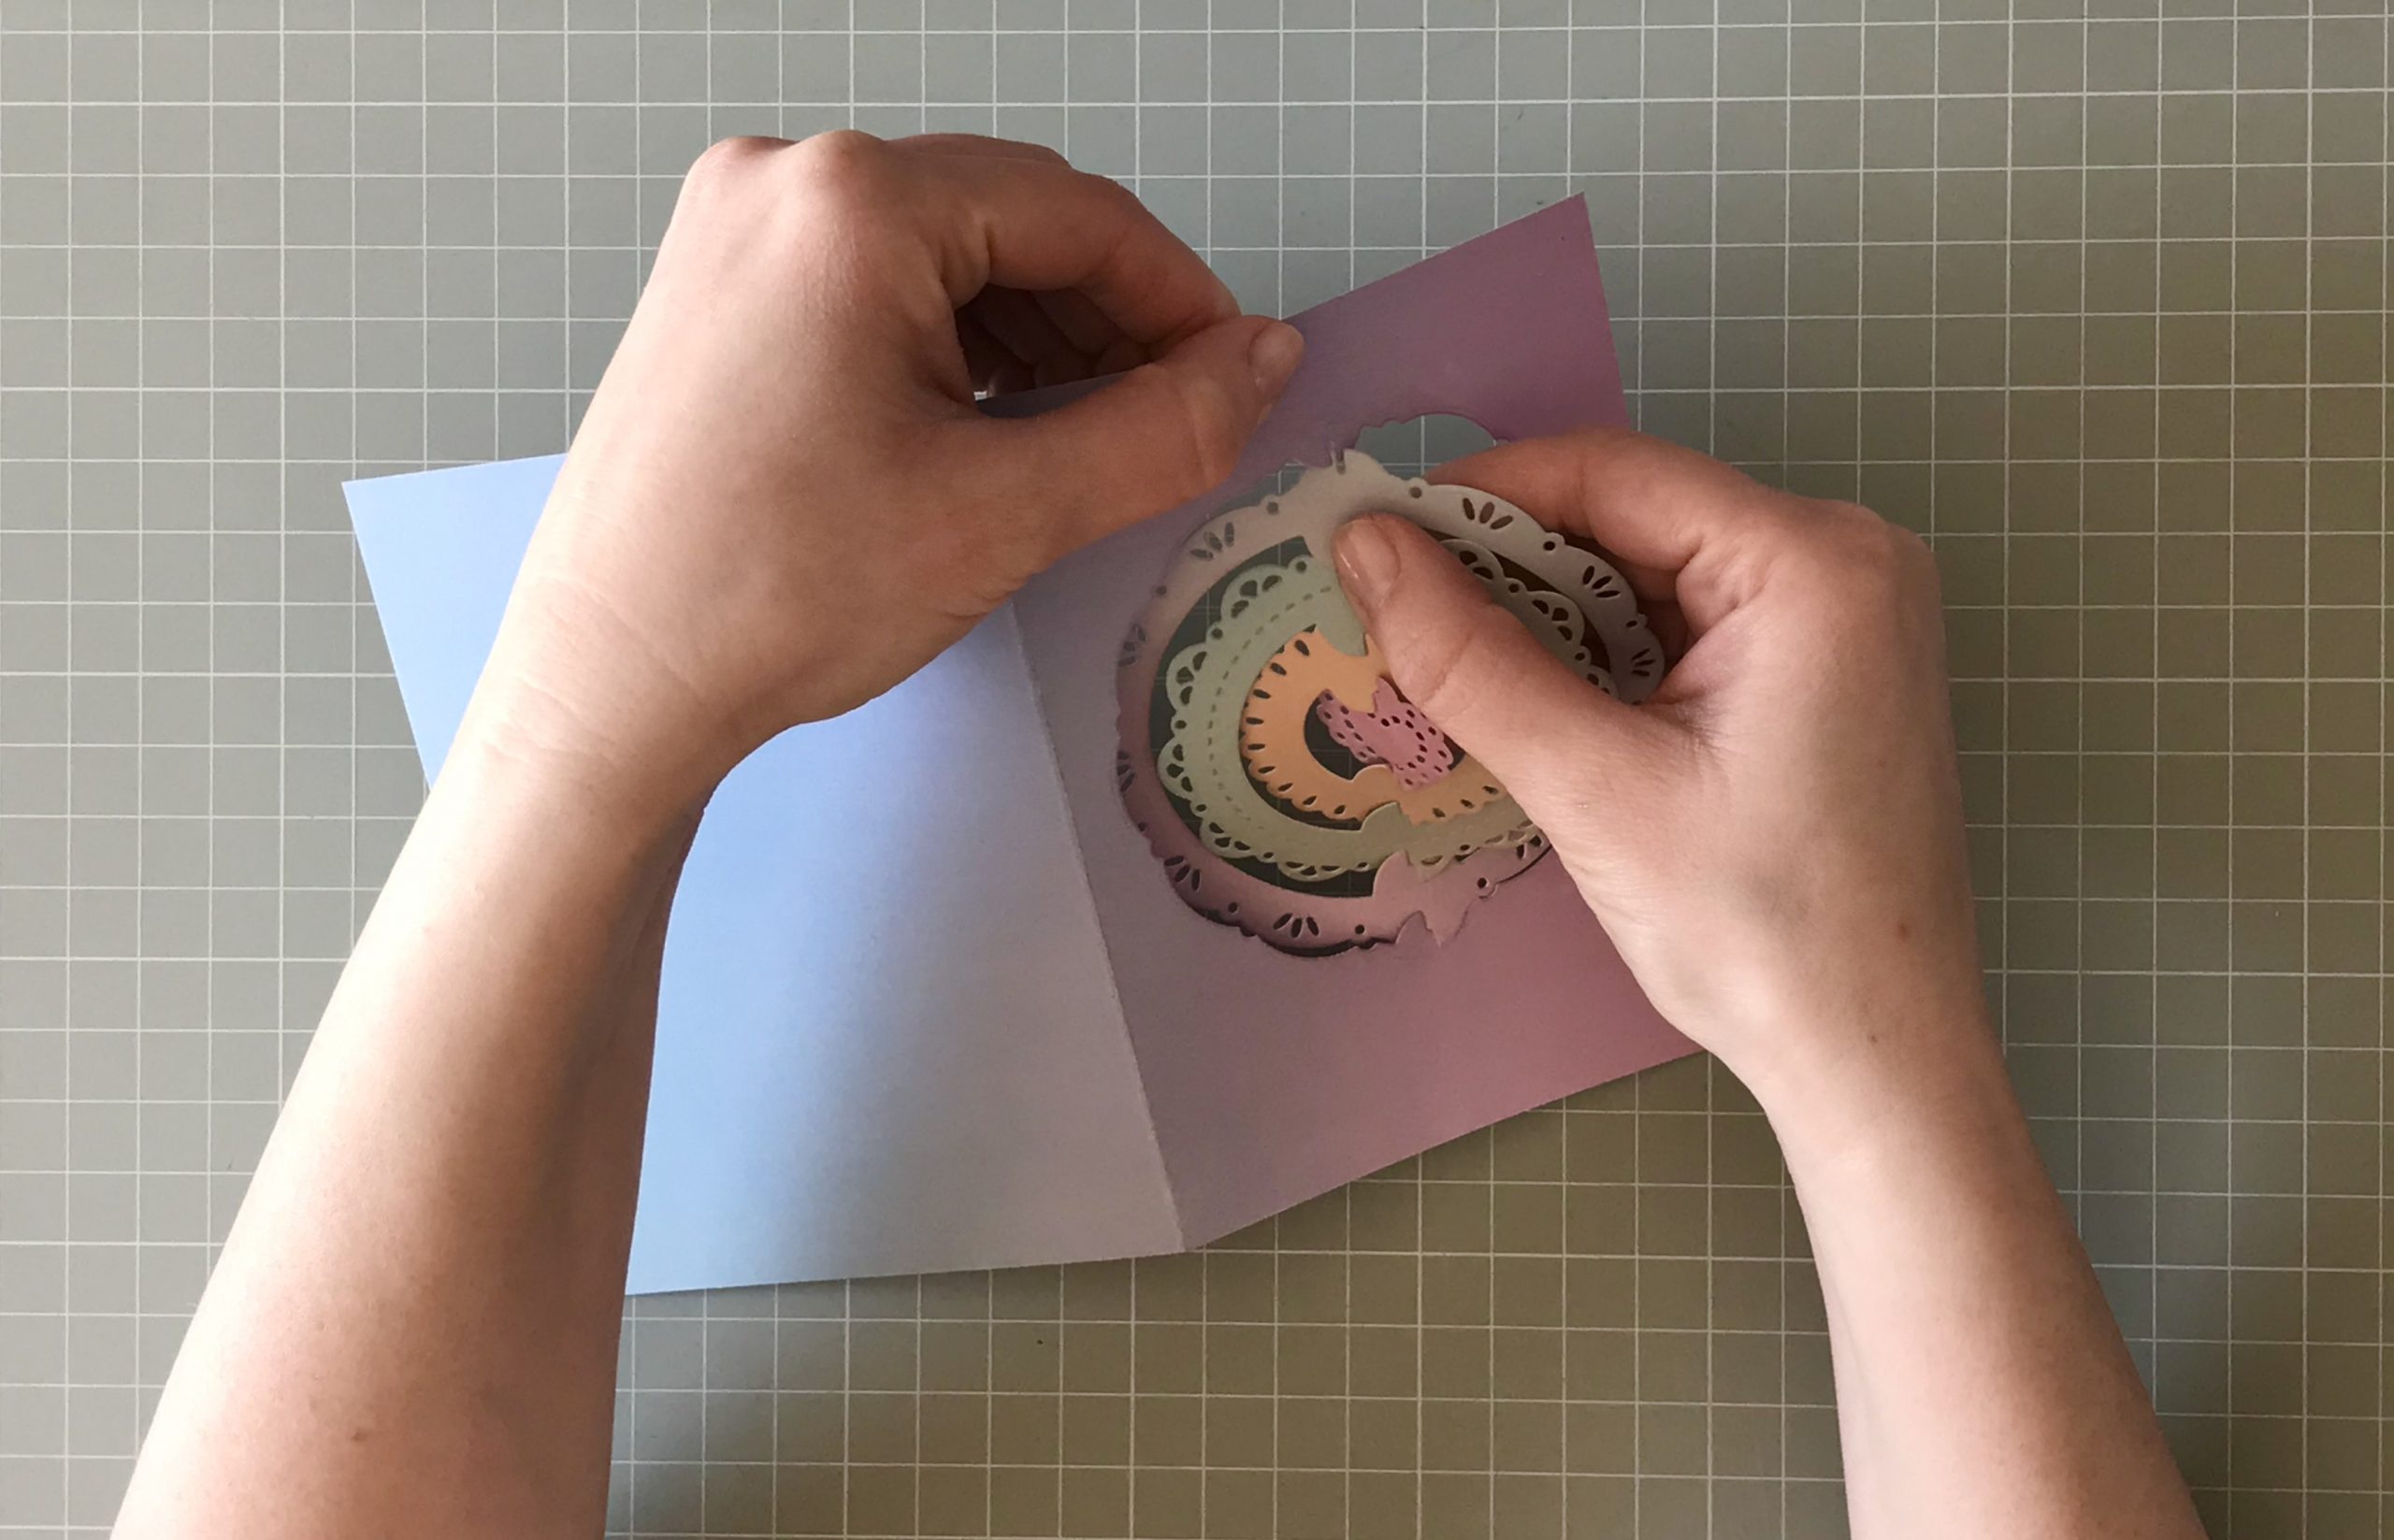
The frames are quick and easy to connect. What I love about working with these frames is that as you’re making a card, if you wish to change the colour of a frame it’s soooo simple to disconnect one frame and replace it with another. I love this feature because I regularly change my mind when I’m designing cards!
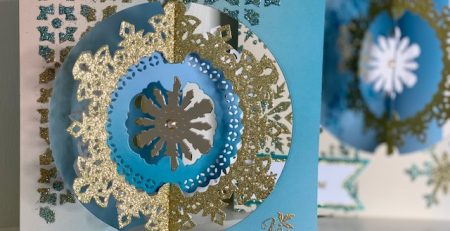
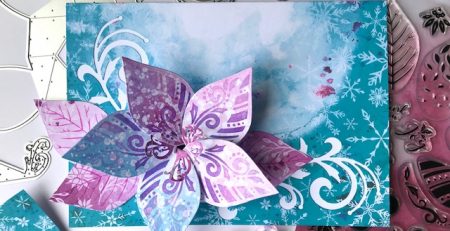
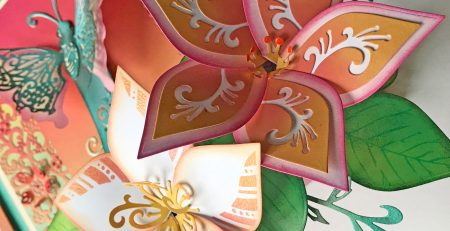
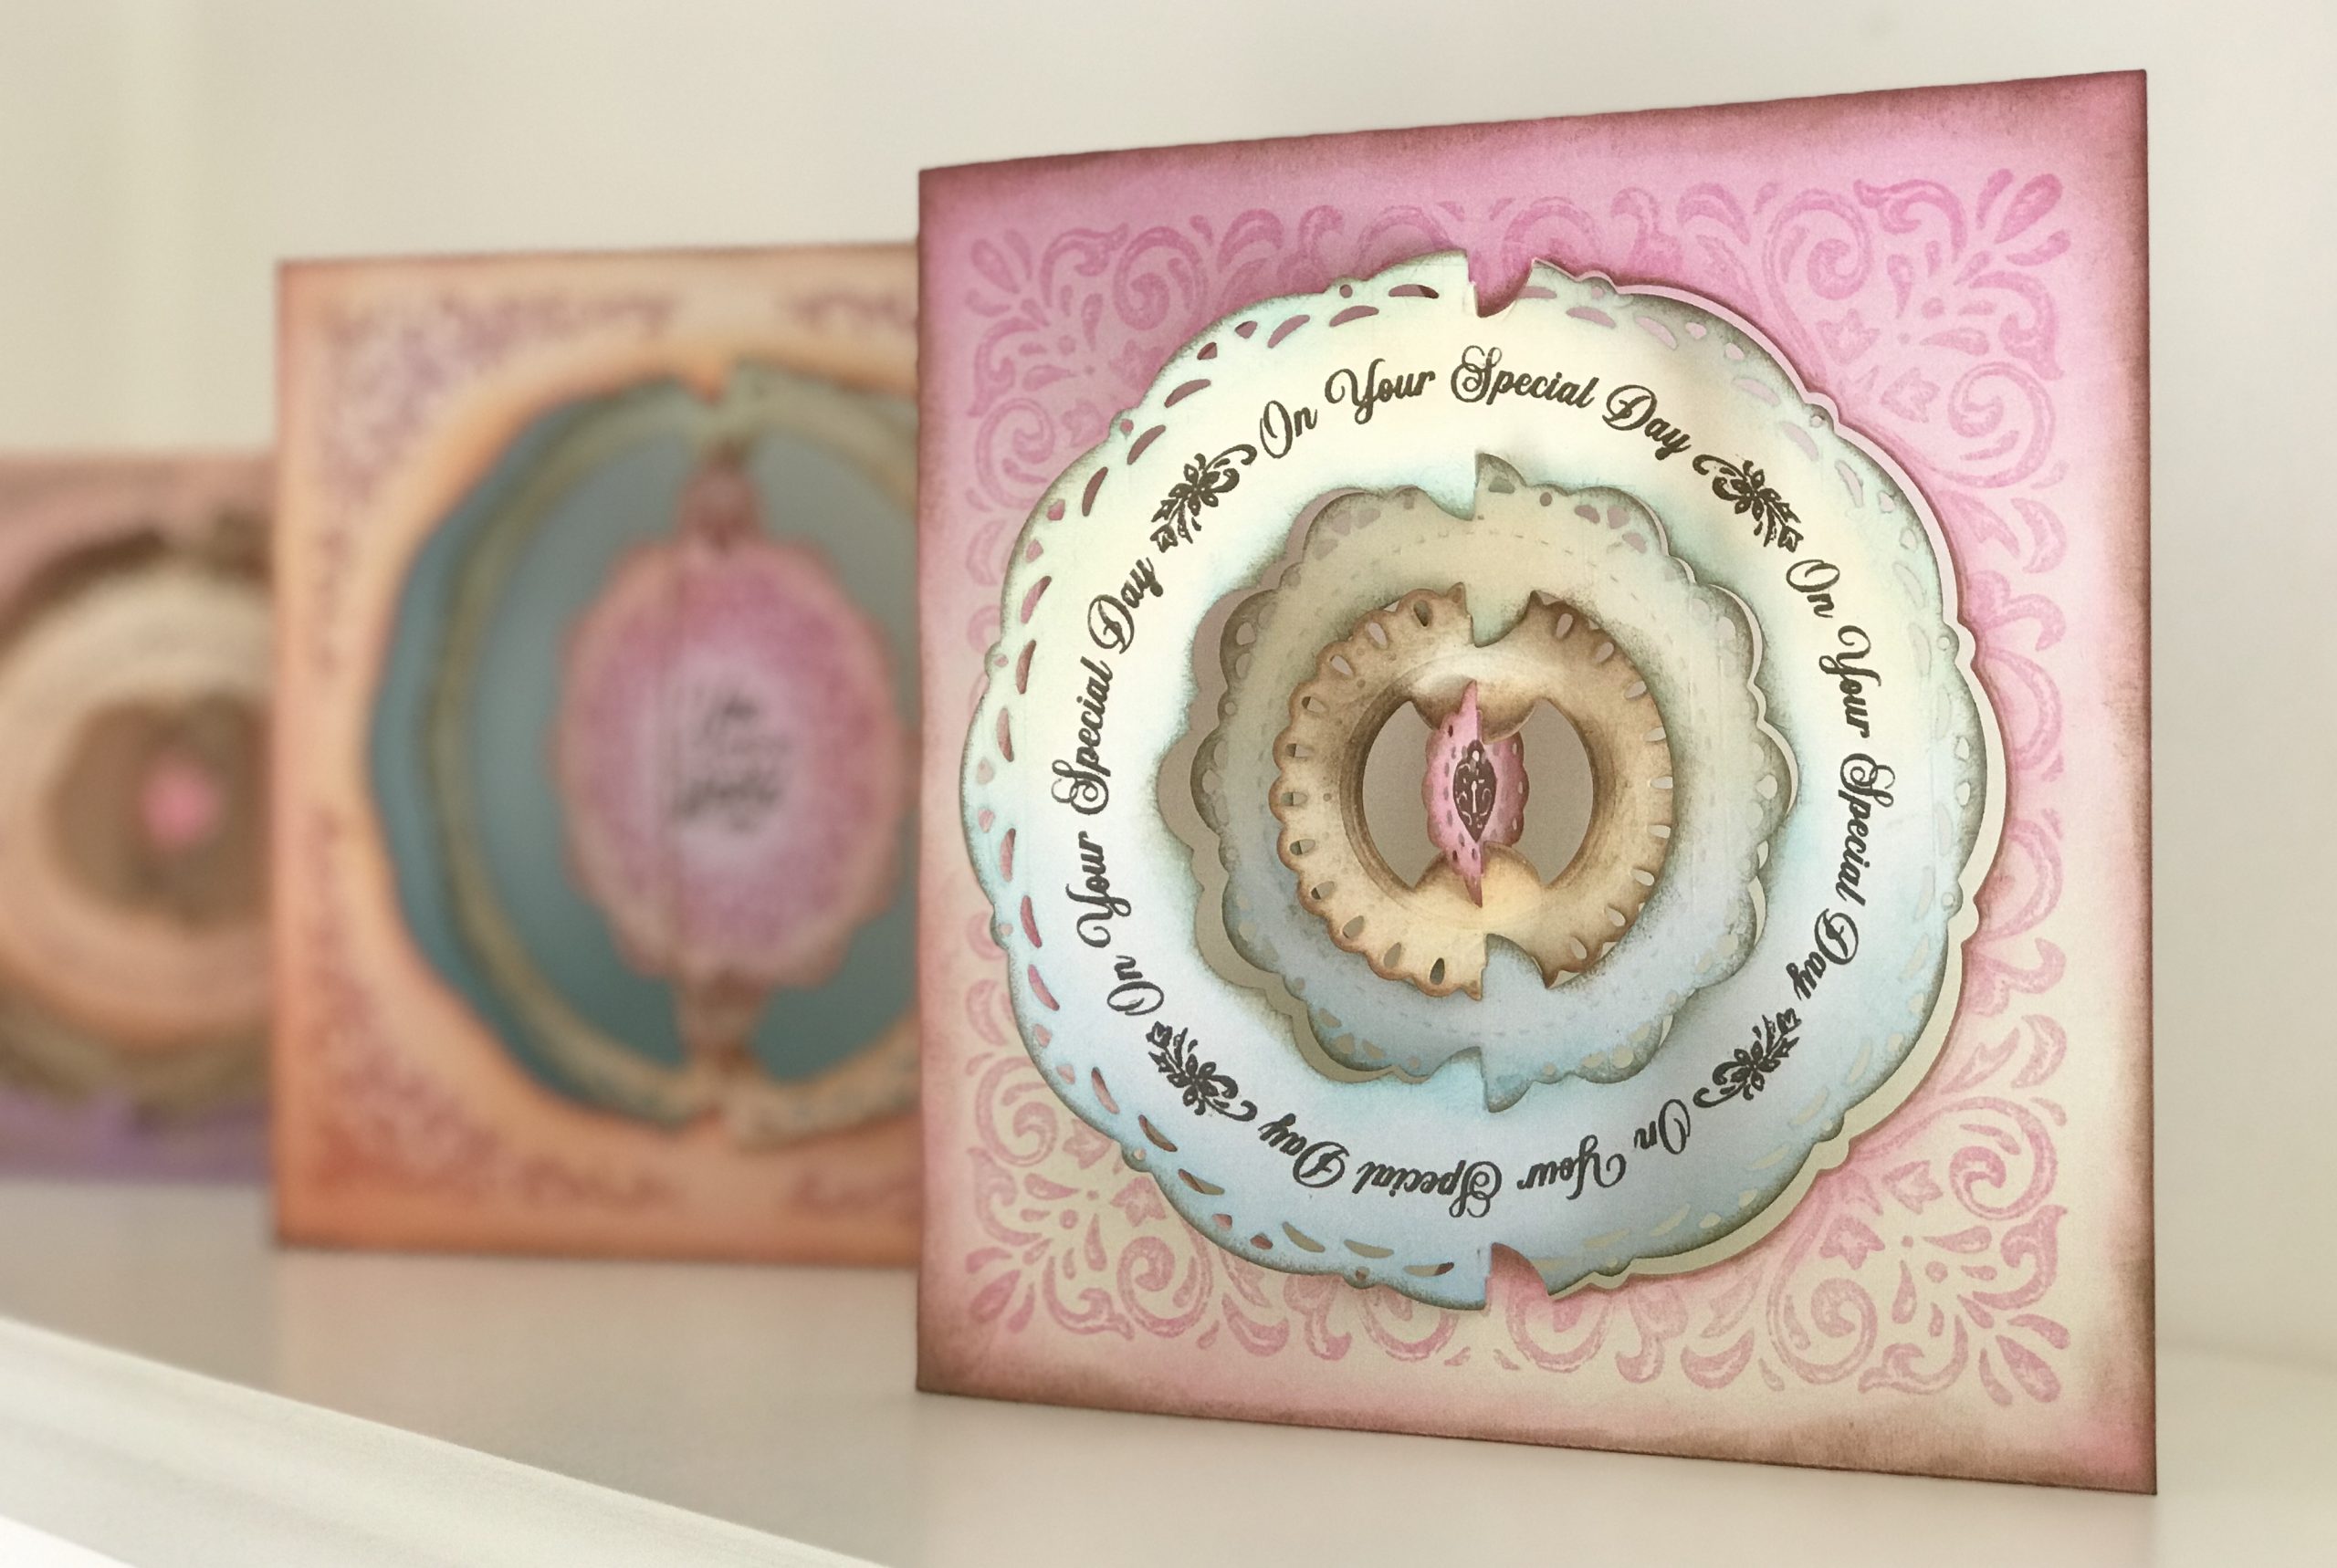 This image shows an example of using the aperture dies as inner dies for shaped frames and how making the frames wider opens out the possibilities for stamping our Vintage Treasures circular greetings.
I hope you enjoy crafting with this new collection as much as I do! There are a few mixed media techniques that I’d like to share using our new Vintage Lace Doily stencil and Vintage Treasures stamp set – and I may attempt to pack them ALL into one card design!
Please stop by again soon for more crafting inspiration!
Happy crafting!
Angela
X