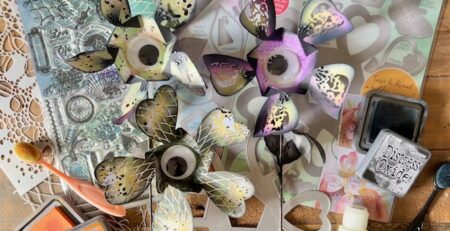
Slot and spin your way to make sensational vintage cards!
I wanted to share some different techniques using our Vintage Treasures photopolymer stamps and our gorgeous new stencils, and so I thought what better way than to pack it all into one BEAUTIFUL card design?!!
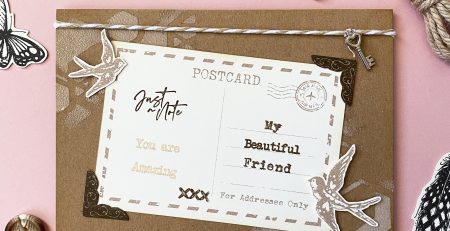
The vintage style of this card was inspired by a gorgeous card that Trisha Plastow from our DT made. I loved her layers of stamping in matt brown Distress ink and the heat-embossed metallics. Plus, the angles of the keys and flourishes looked wonderful using our Vintage Treasures stamps!
Read on for detailed steps on how to create this amazing design for yourself! If you prefer, you can watch a video tutorial for this card over on our YouTube channel here:
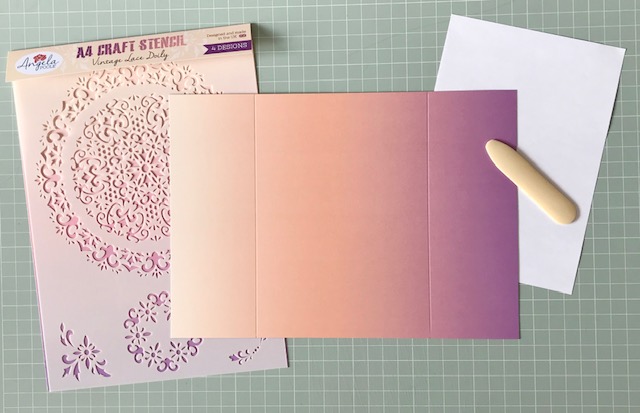
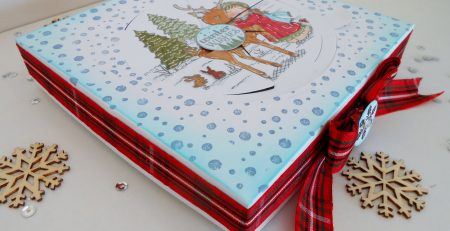
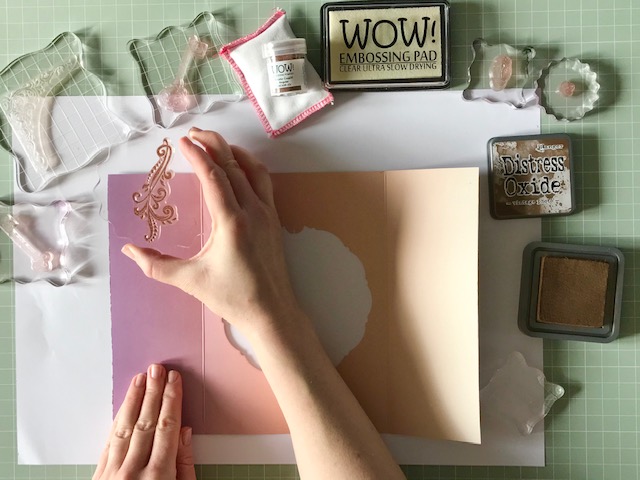
This gorgeous card design starts with a humble gatefold card. Well, not that humble, as I’ve made the card base using one of the A4 sheets of our Enchanted Mist card pack. The ombré colours in this card pack are incredible! I’m also using it because I’d recommend card that’s 3oogsm (111lbs) for making Slot & Spin cards – definitely card at least 250gsm (92lbs). The scored lines for the gatefold are 7.4cm (2.9in) from the edges of the card.
Here’s a step by step guide to how you can make this card – with some techniques and tips I wanted to share along the way:
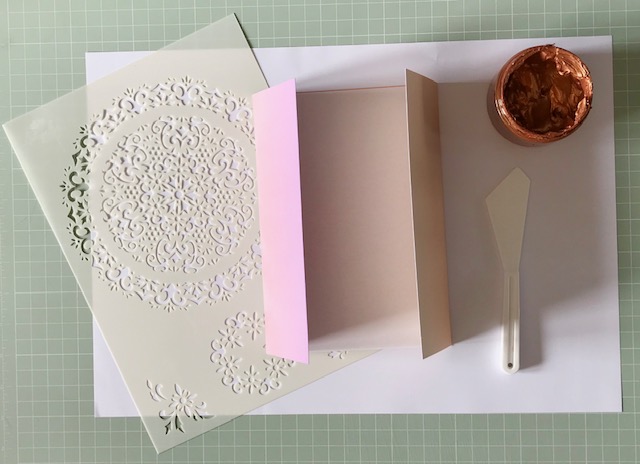
Start by placing a piece of A5 scrap paper inside the card to protect it.
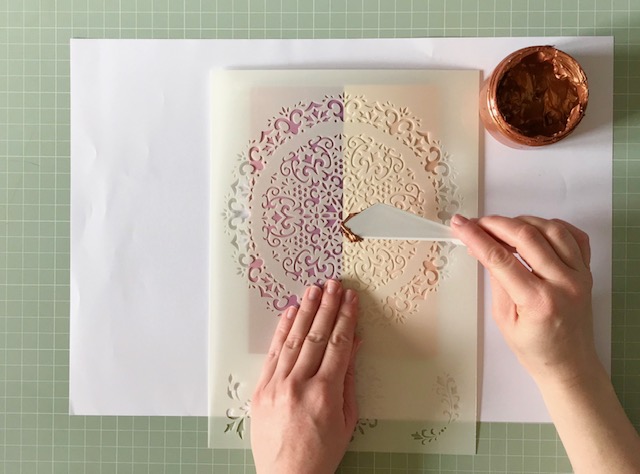
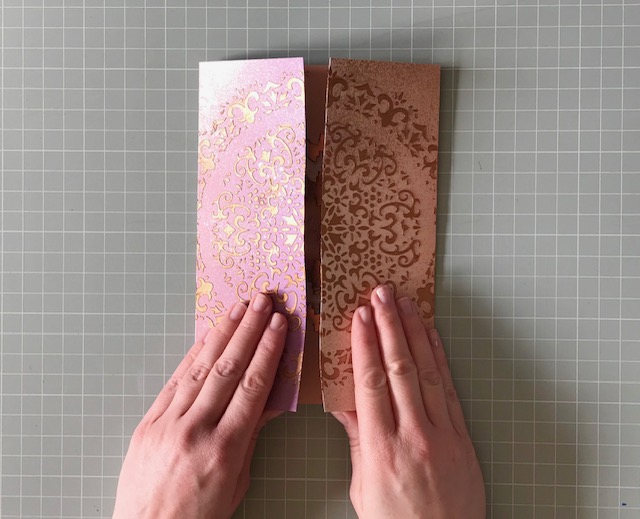
Place the Vintage Lace Doily craft stencil over the closed card. Apply copper texture paste over the stencil using a plastic tool. I found the best results came from applying the paste from the centre of the circle and working outwards. Smooth over the surface with the tool, removing any excess paste. Then, remove the stencil to reveal the design! The drying time will vary depending on the paste you use. Most of the texture pastes I have at home recommend letting them dry naturally and they usually take around 1.5hrs.
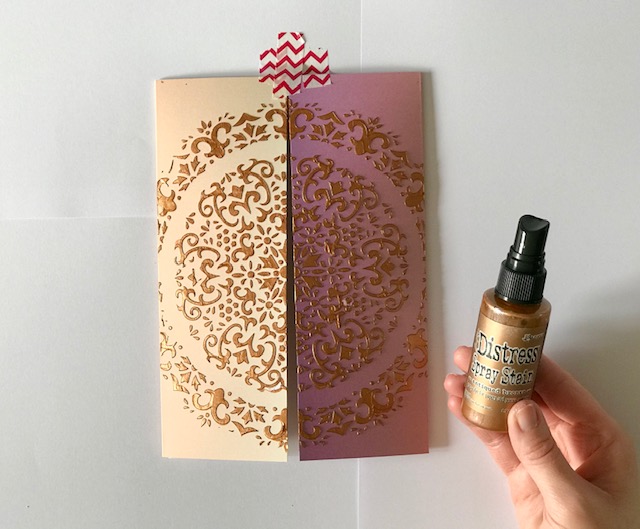
I wanted to achieve distressed metallic effect and so I used the Tim Holtz Antiqued Bronze Distress Spray Stain on the corners of the card. You can choose to apply spray stains/inks before applying texture pastes depending on the effect you’re after.
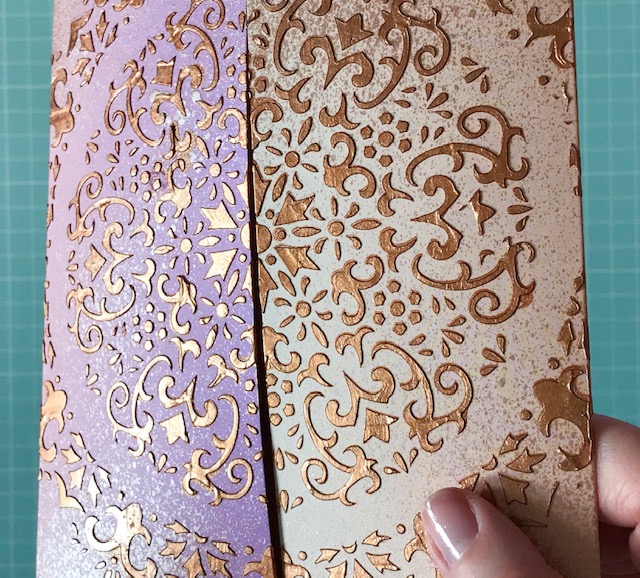
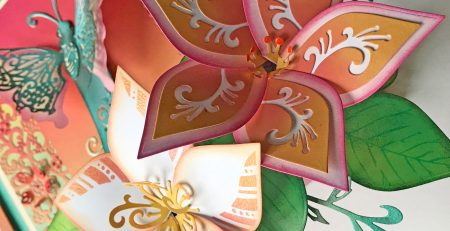
Here’s a close up of the dimension our stencils give when used with texture pastes!
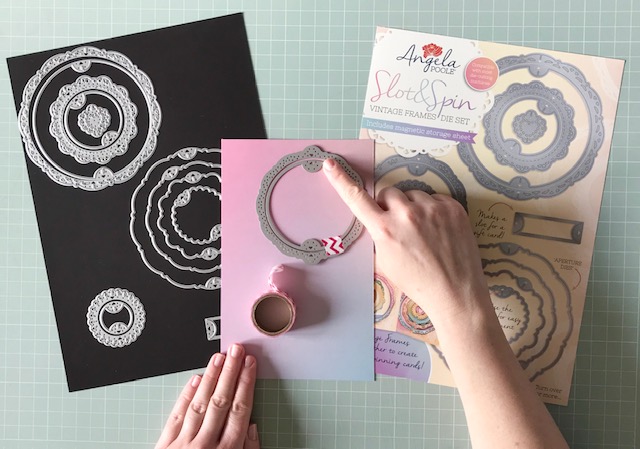
Whilst the card was drying, I used our Slot & Spin Vintage Frames die set to die-cut a frame from a piece of Enchanted Mist card. I then applied Antique Bronze Distress Spray Stain on both sides.
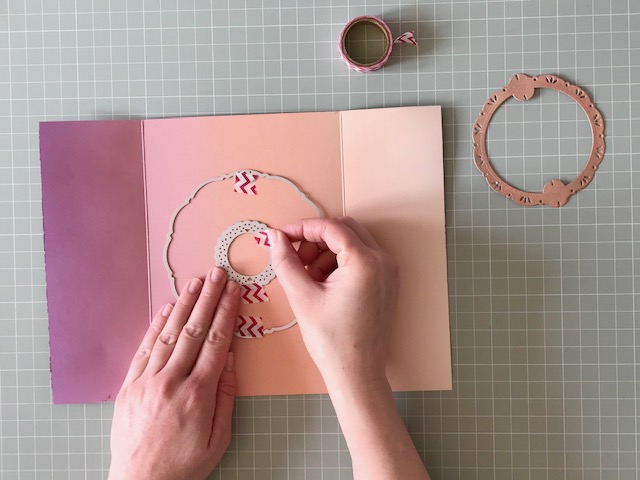
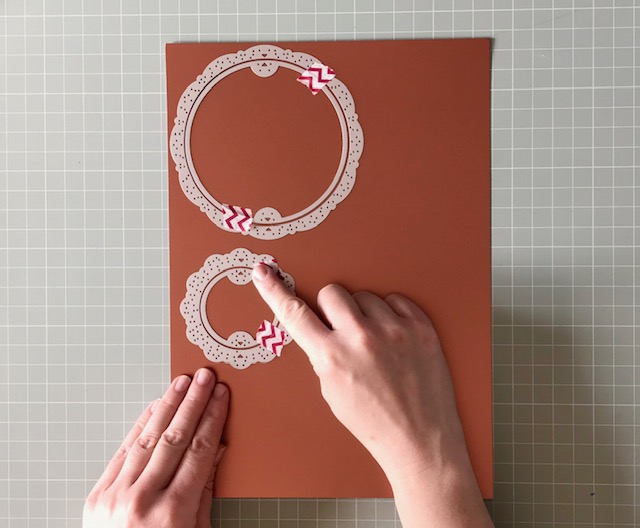
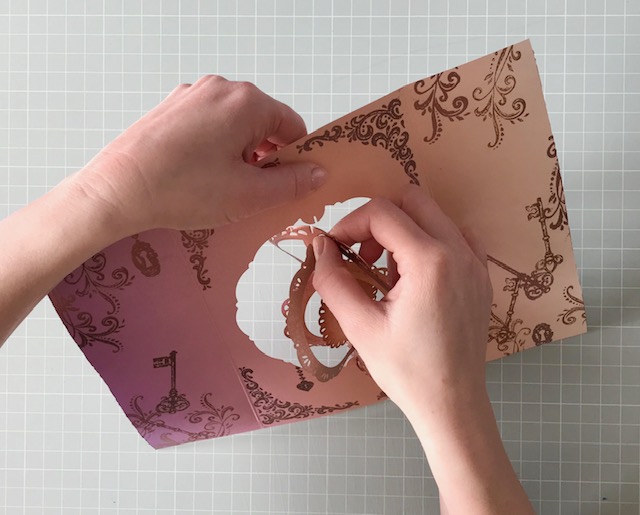
Next you need to place the largest aperture die centrally over the opened card and keep it in place with washi tape. Position the solid small doily die (just use the outer die when cutting solid panels) in the middle. You can now die-cut the pieces and remove any waste from the doily.
Running dry texture paste through a die-cutting machine will knock back the height of the texture slightly – which I do prefer when card making. However, if you’d like to retain the full dimension of the paste, then you can simply die-cut this step before stencilling the pattern.

This is how the card looks with the largest aperture cut from the centre.
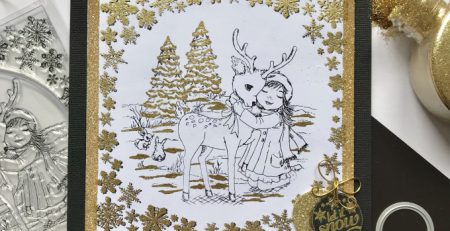
Play time!! There are 34 photopolymer stamps in our Vintage Treasures A4 stamp set. Don’t ask me how Katie managed it (because the beautiful square frame stamp is huge!), but somehow she did?! I used the Distress Oxide, Vintage Photo to stamp various flourishes and keys in a matt brown.
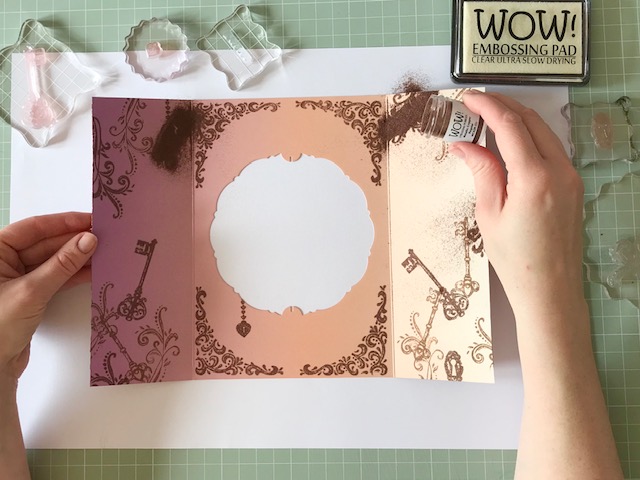
Once dry, I rubbed the surface of the card with an anti-static pad. I then stamped the elegant corner stamp using a Wow! embossing pad in the four corners of the central panel, along with the keys, locks and hanging chains. I then sprinkled over Metallic Copper Wow! embossing powder.
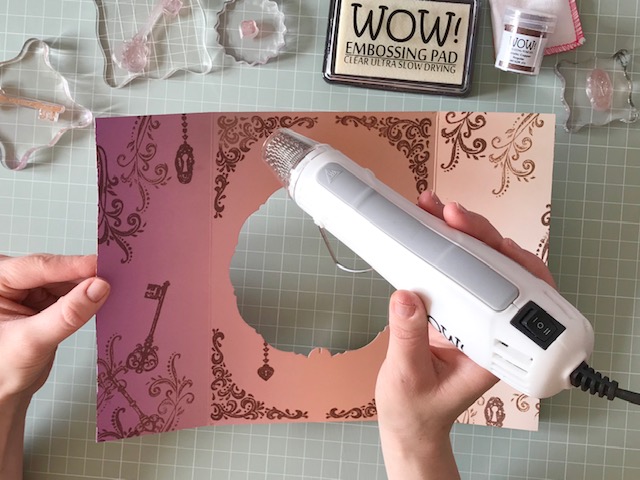
Tip any excess powder back into the pot and I find a paint brush handy for removing any excess embossing powder. Use a heat tool to melt the powder into a shiny, metallic finish.
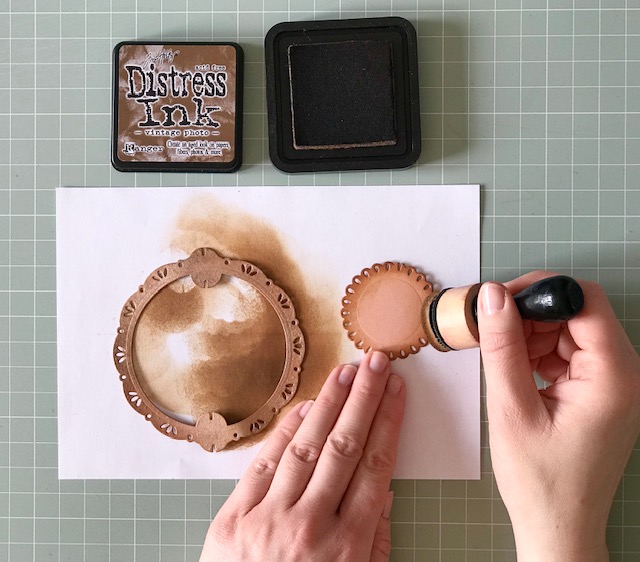
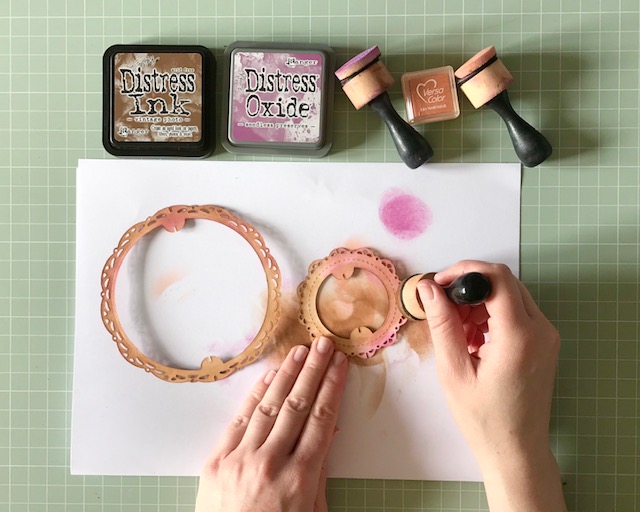
You can give the frame and solid doily panel a vintage look by blending distress ink around the edges. Remember to distress both sides as they will spin!
This step is purely because I wanted to see how cutting the frames from copper Mirri card would look. . . the results are really striking and I definitely recommend giving it a go.
Mirri card is single sided, so I’ve coloured the backs of these frames with more distress inks.
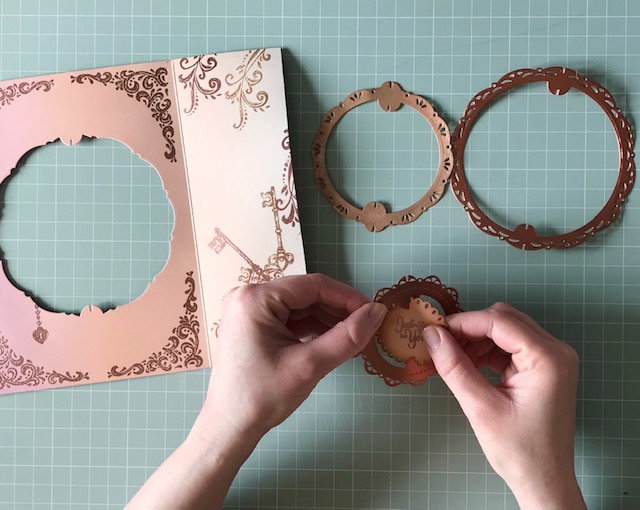
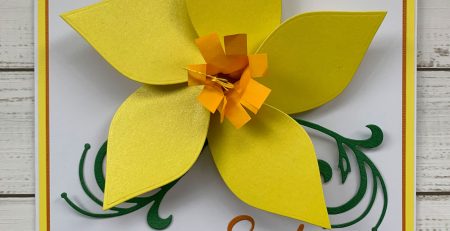
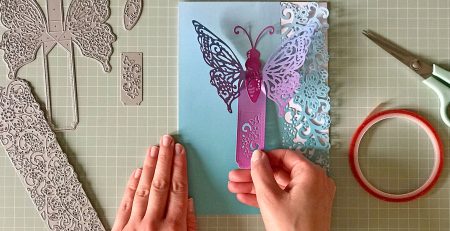
And now everything’s ready for construction. You won’t believe how quickly the frames slot together! I always recommend starting with the smallest piece and working outwards. This is because you’ll need to flex the card for the slots to connect together.
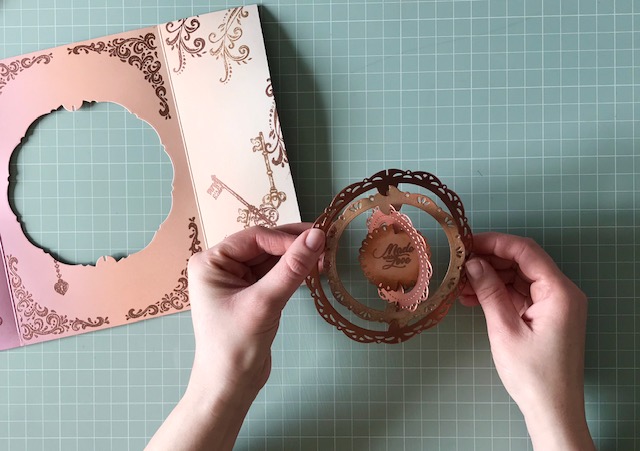
Connect all of the frames in the same way so that they spin. Because of the 300gsm sturdy card and the precise sizing, you can even shake the connected frames and they’ll stay locked together!
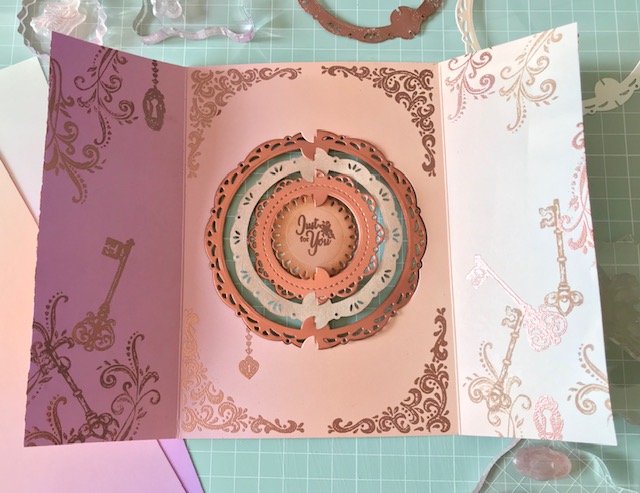
Lastly, you connect the largest frame to the same sized aperture. You can see how the slots connect in this photo.
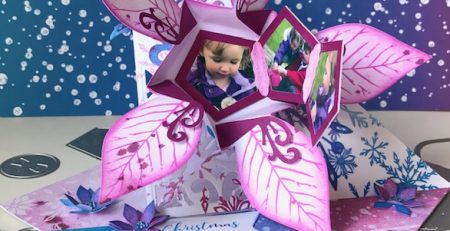
Once finished your card will fold flat for posting. . .

and the recipient will receive a wonderful surprise when they open the card and the frames spin! The metallic coppers catch the light beautifully with the movement of the spinning frames.
I hope you like the card.
Please stop by again soon for more crafting inspiration!
Angela
X