Perfect Peonies!
Perfect Peonies is the much anticipated stamp set released with our new Buds to Blooms collection. It’s a bumper A4 photopolymer stamp set and it is, in fact, so full of stamps that we had to design the packaging on one side only as it was the only way we could display ALL of those gorgeous high quality stamps!

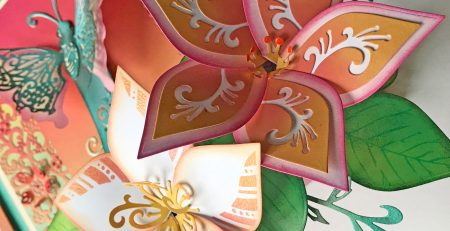
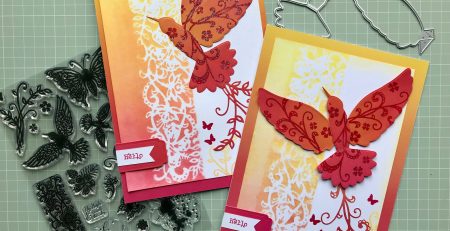
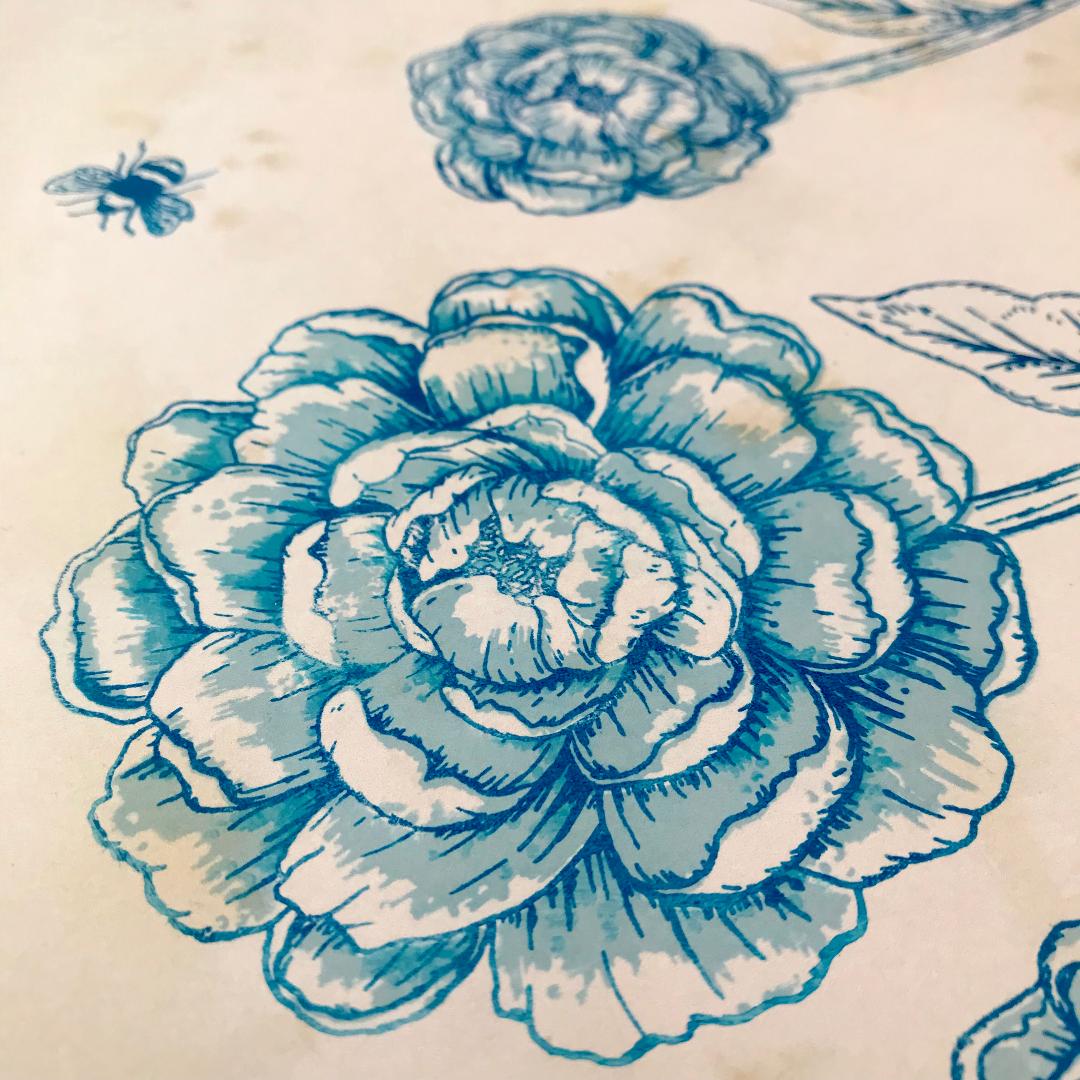
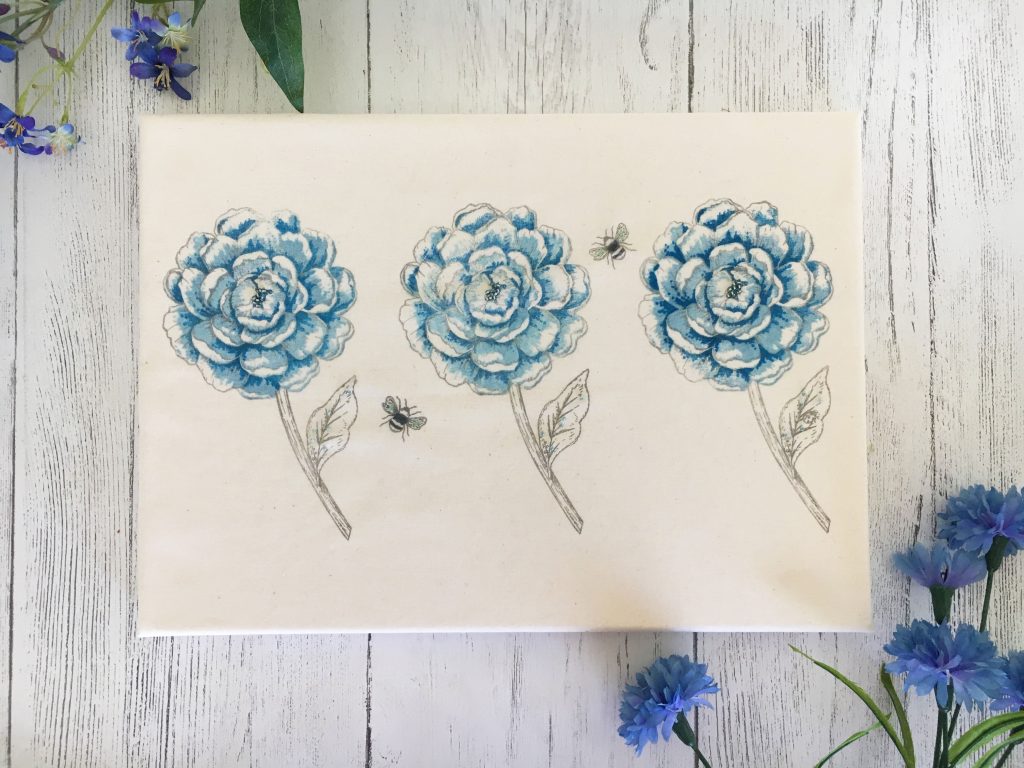
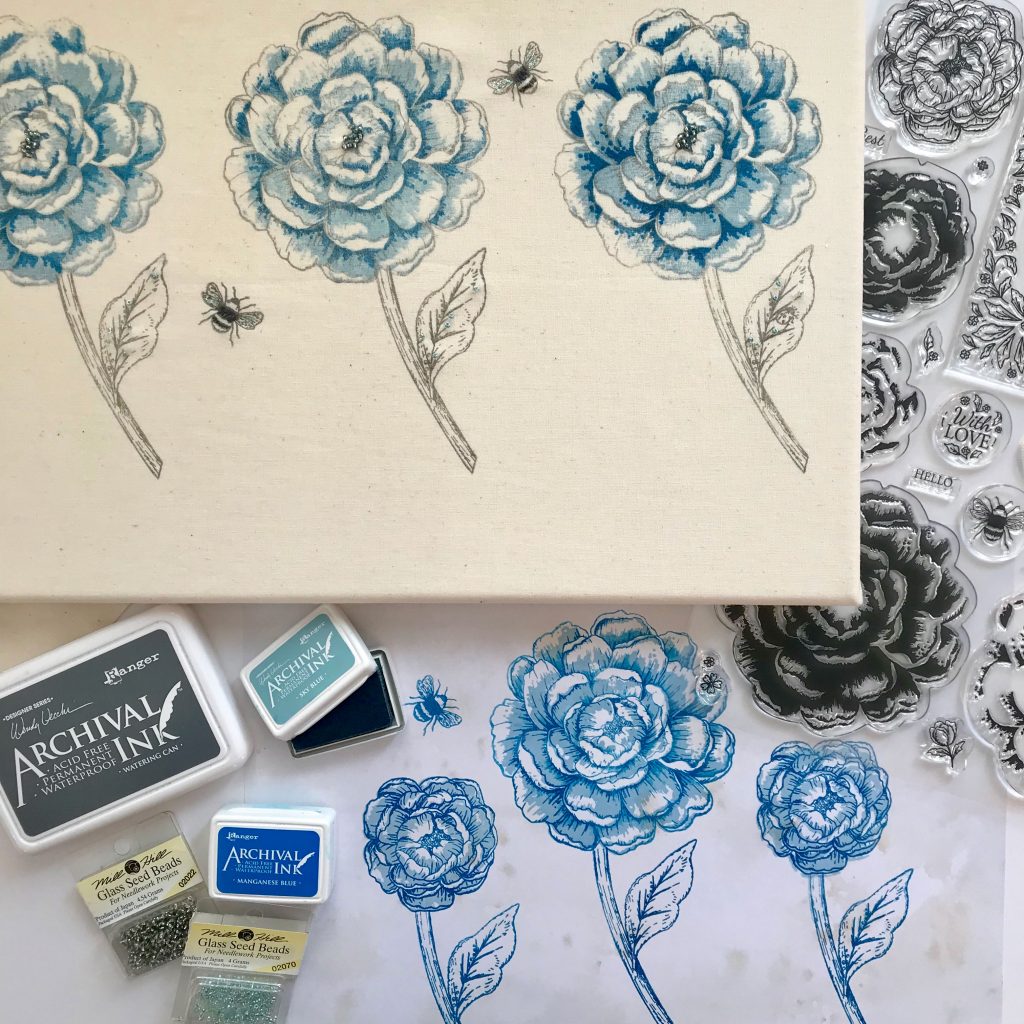
It felt self-indulgent drawing the artwork for this stamp set as I enjoyed it so much! For me, what makes the Perfect Peonies stamp set so special is the versatility. The stamp outlines can be coloured by hand, or you can use the stamp layers to colour up the peony flowers for a screen printed look. The stem and leaf outline is just an outline but you can see how beautifully it all comes together on both paper and fabric.
There are even seeds if you want to add heat embossed details. And speaking of heat embossed I can’t get enough of heat embossing the borders in metallics!! Since discovering the tumble dryer sheets make the Magic Windows slide so well, I’ve successfully made Magic Windows cards that are virtually all heat embossed!
You’ll find lots of greetings for either the circle toppers of Magic Windows cards, or just as useful greetings to have. Our Art Director, Katie Webster is a whiz at making the most of every useable space when it comes to stamp sets, and I was amazed at all of the additional stamps that she managed to squeeze into the A4 space!
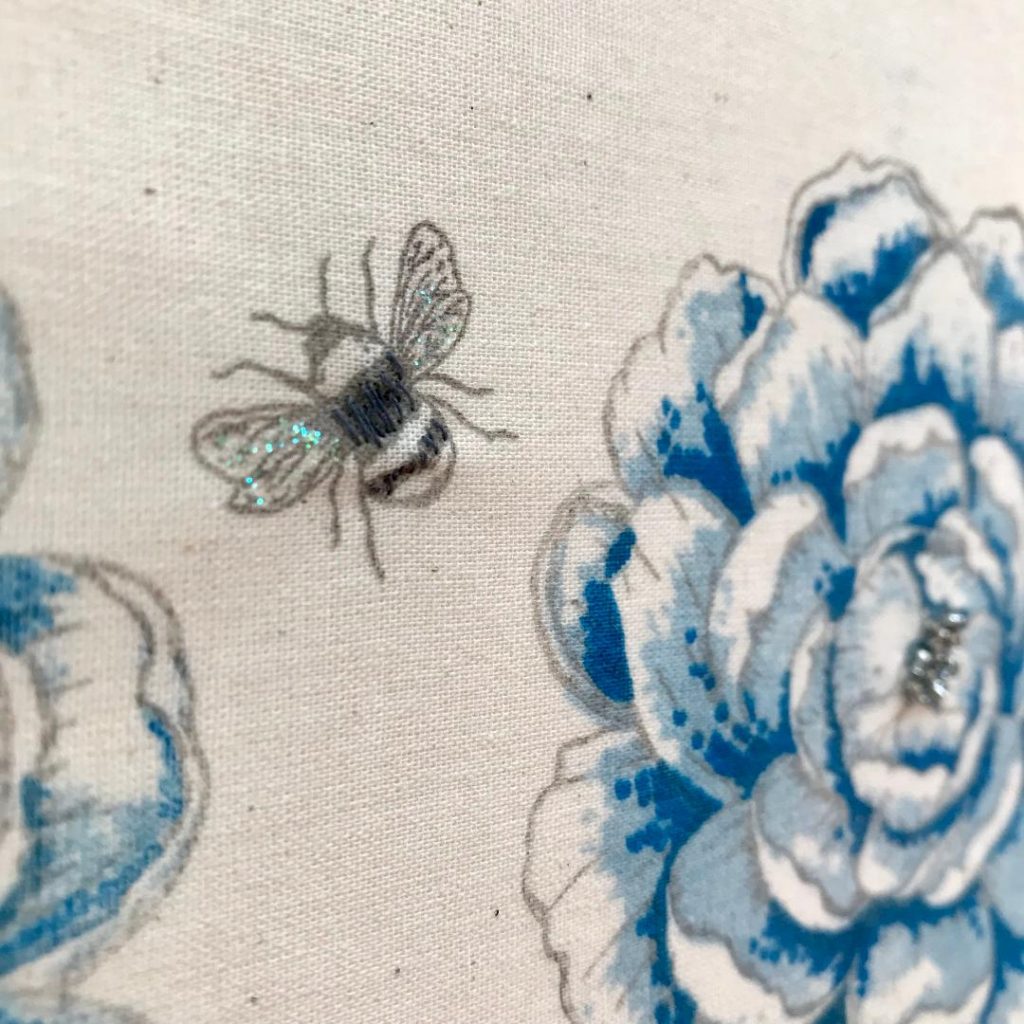
I just love the little bee stamp! I’ve been adding it to quite a few of my card designs. In this fabric example, I stamped the bee in dark grey archival ink and then added texture to the body by working several stitches in dark grey thread. I used glitter glue to add a touch of sparkle to the wings. Seed beads are a great addition to stamped fabric designs and if you don’t fancy stitching them on and you’re not planning on washing the design, then I highly recommend attaching them with a dab of glitter glue as well!
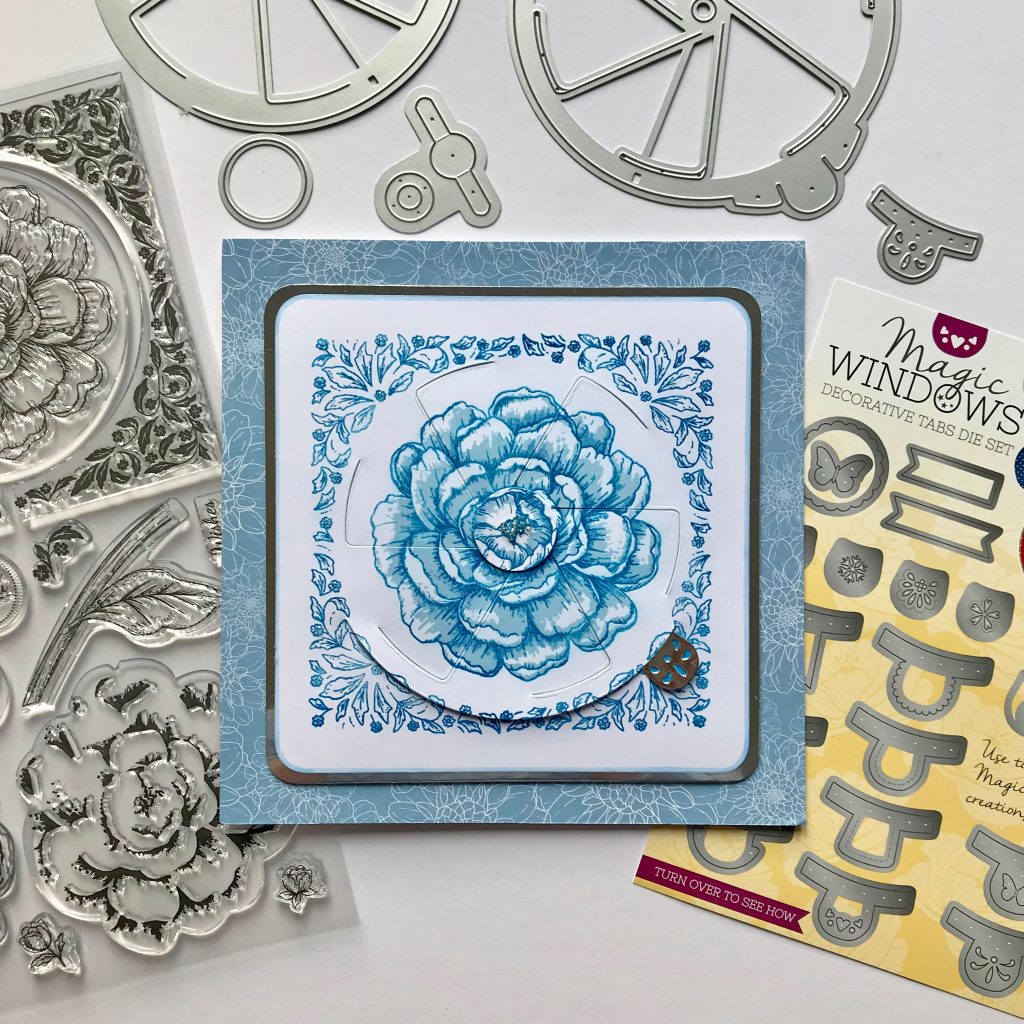
I’ll do a post soon showing you a quick and easy way to stamp those peony layers. The secret is the notch in the stamp which marks the top for easy positioning but I’ll share more tips and techniques that I find really useful.
I hope you like the stamped designs. We’d love to see what you’re making with the stamp set so please feel free to share your makes on our Facebook page.
Happy crafting!
Angela