06Oct
Lisa’s extra-special gift!

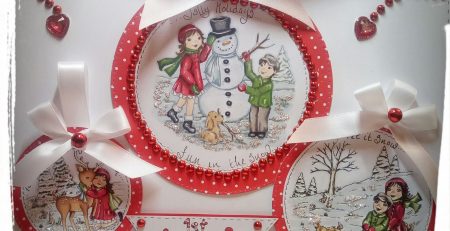
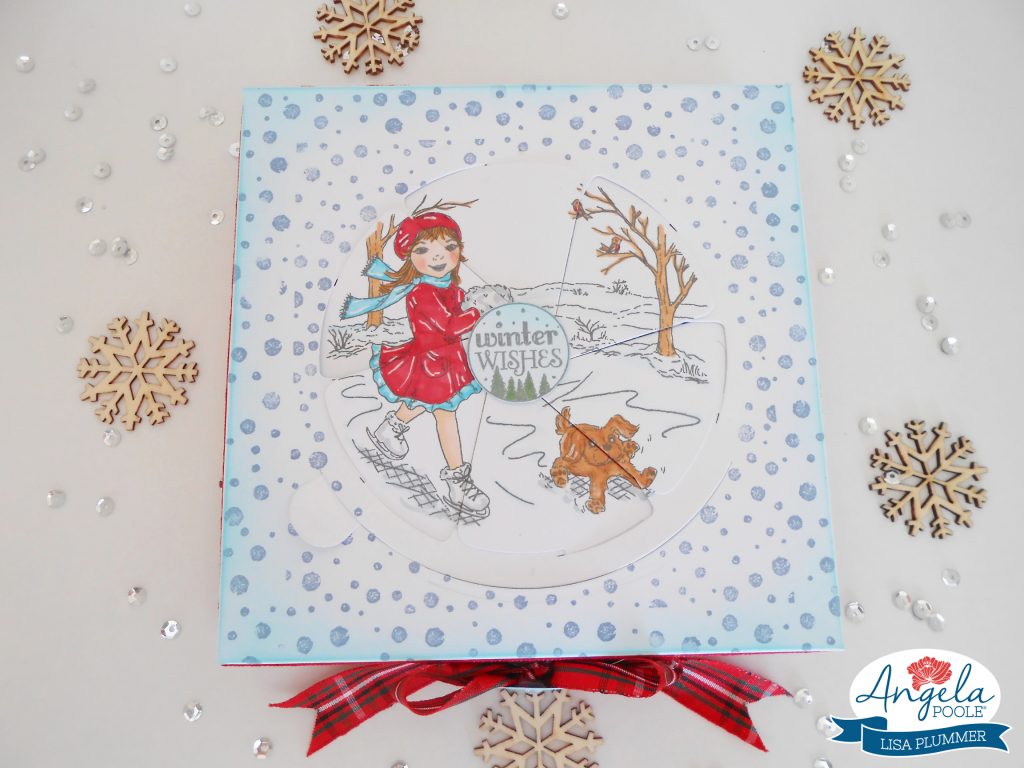
Hello crafters! Today I wanted to share with you my idea of how to make a Christmas gift box with the extra-special detail of having the Magic Windows feature. I came up with this idea after making a few Christmas card designs using the Magic Windows Slide & Reveal die set and Beautiful Moments – Cold Days, Warm Hearts stamps. I wanted something extra-special to put my cards inside to give as a gift! What better than a lovely coordinating gift box?
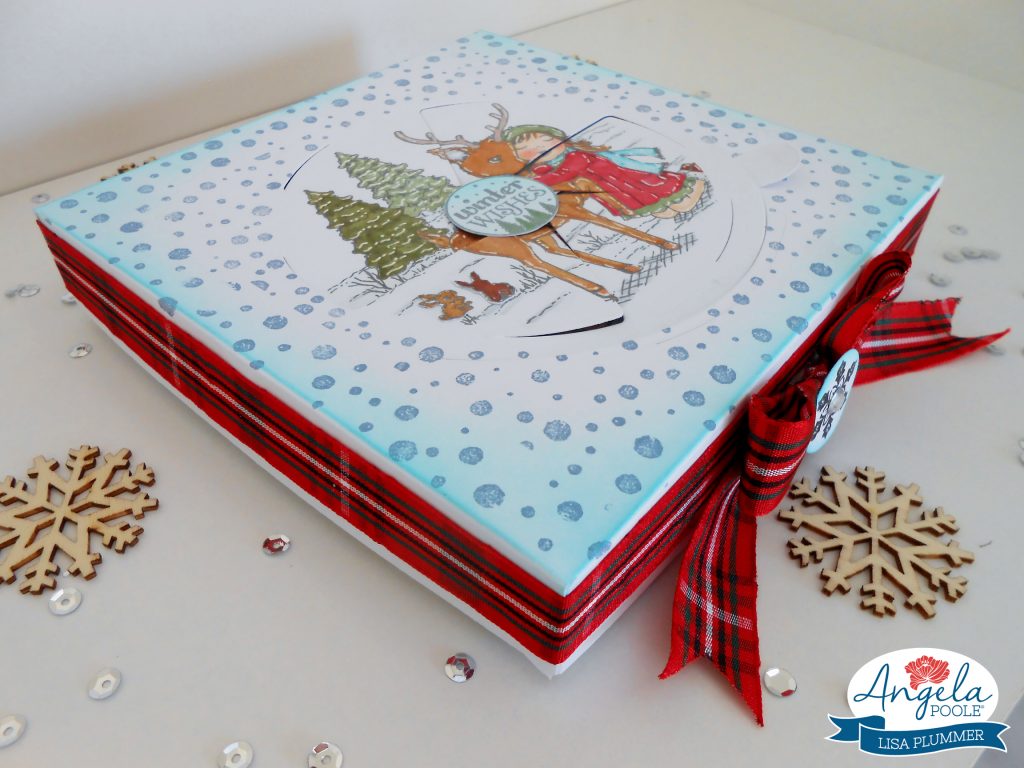
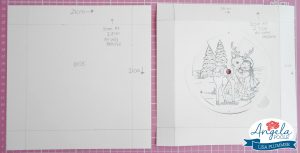
First, I made a basic gift box shape by using two pieces of card 21cm square. I scored one square of card at 2.7cm in from the edges of the square to make the lid, and then scored the other square at 2.8cm in from the edges to make the base. Then I took my main stamp from the Christmas Wonderland stamp set and stamped this in the centre of the box lid front. I then positioned my Magic Windows die over my stamped image and ran it though my die cutting machine. For the second element of the Magic Window, I again stamped the main image from the Winter Days stamp set, and used the Magic Windows ‘Tab’ die over my stamped image.
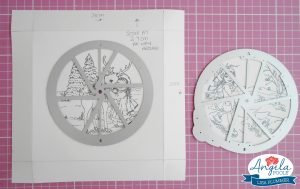
I coloured my images up and once done, I placed the two window pieces together. I die-cut the brad from card and stamped and die cut my message topper, then constructed it to make the Magic Window work. I then stamped the snow background on the front of my gift box, adding a little light blue ink to the edges. To finish, I fastened my box together with thin double-sided tape and added tartan ribbon around the edge of my box. I used one of the snowflake stamps in the centre of the ribbon to decorate.
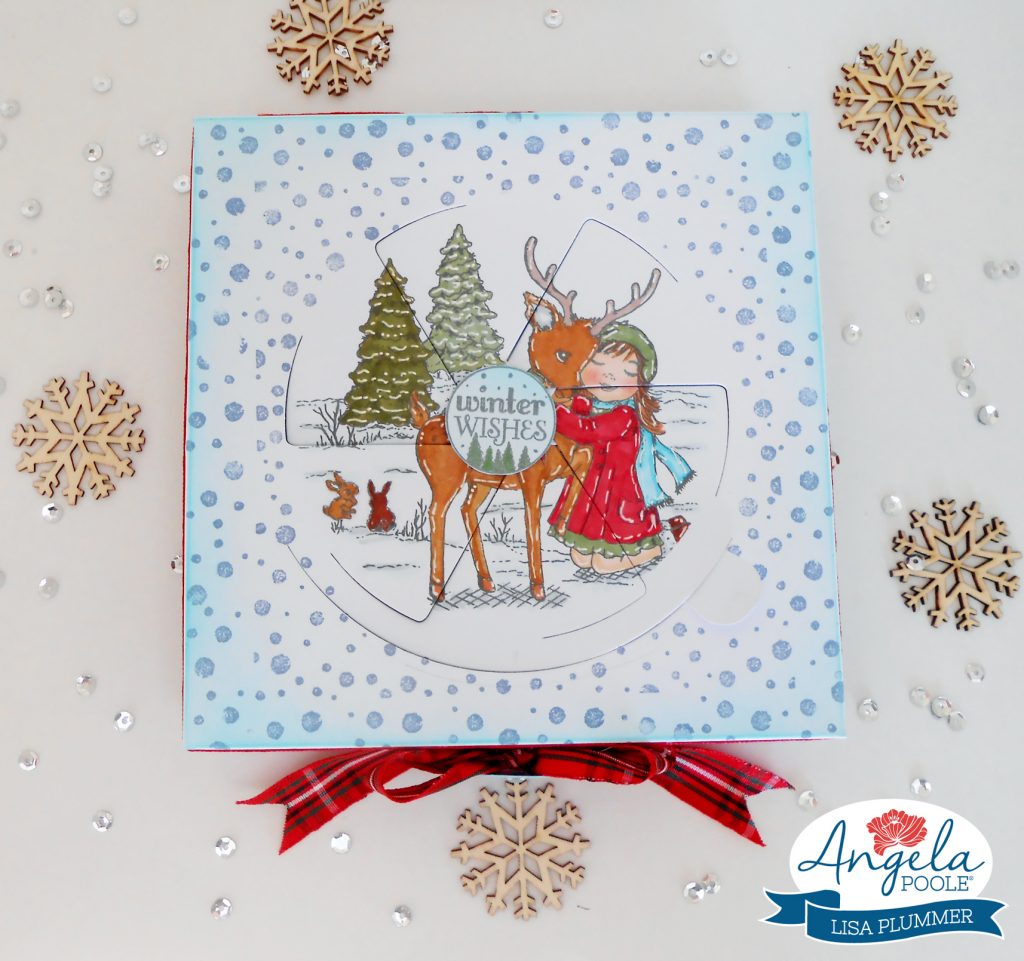
I hope you have enjoyed taking a look at my Christmas gift box, see you soon!
Lisa
You can find more ideas from Lisa on her own blog, too! http://craftingdivadesigns.blogspot.com