Easy kinetic Christmas cards!
Our Slot & Spin dies sets are certainly trending at the moment! We’re feeling overwhelmed by such a positive response from crafters around the world – it means a lot to us that you love our products as much as we do!
So what’s all the fuss about?! Well, these clever die sets make it SO easy to make kinetic cards!
You can mix ‘n’ match not only the outer and inner dies for multiple options for frames and solid spinning panels, but you can also mix the dies from both the Vintage Frames die set and our new Festive Frames die set!
What’s more, there’s NO adhesives needed, as they simply slot into place! You’ll need to use a sturdy card base of at least 250gsm and we recommend 300gsm card – our beautiful Enchanted Mist or Twinkling Mist card is perfect! The spinning frames fold flat for posting and they remain in place even if you give the card a shake – which is reassuring as you never know what the postal journey might be like for a handmade card.
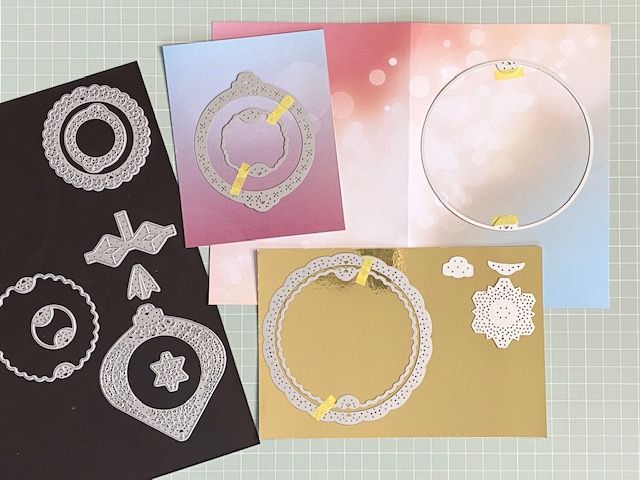
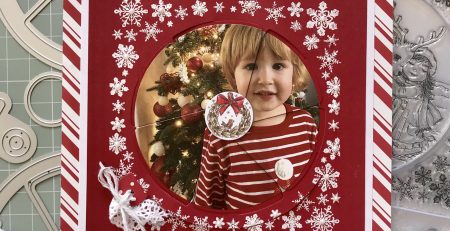
Here’s one example of how the Festive Frames dies can be used to make a card. I’m using the largest circular die to cut an aperture into my card base. I’ve nested a couple of the frame and aperture dies together and held them in place with low-tack washi tape.
If you look closely, you can see the little triangles at the top and bottom of the dies. This is a handy positioning guide. Simply line up the triangles if you want them all to connect vertically. It’s worth having play and trying some different angles by moving the direction of the triangles – as you can create really unique spinning orb effects!
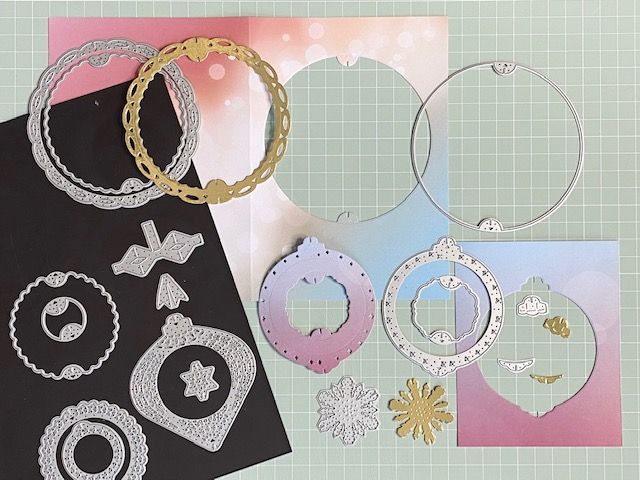
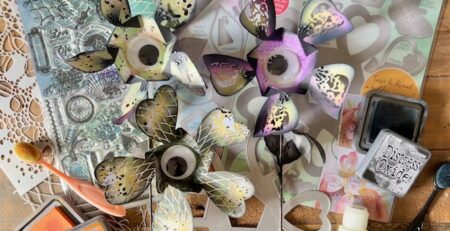
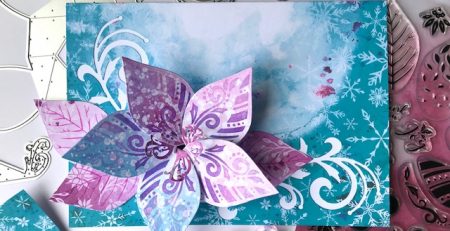
This is how the pieces look when die-cut. The Festive Frames die set includes some dies for finishing touches such as the 3D bow dies and the bauble toppers. It’s no secret that I’m a little obsessed with cutting the bauble toppers from either mirri or glitter card!
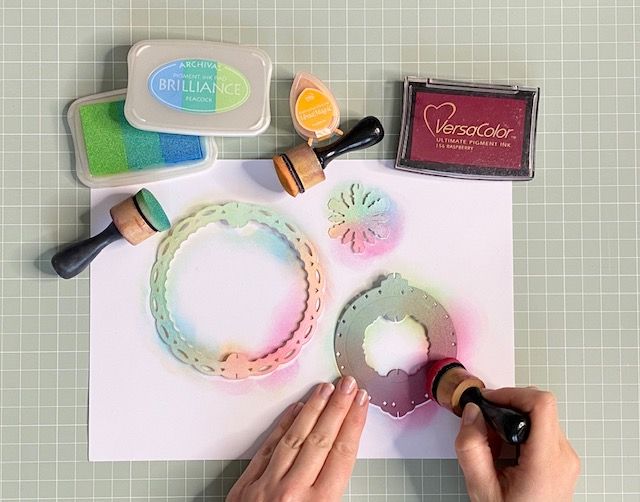
Our Twinkling Mist card has been used to cut the round bauble-shaped frame. This card is double-sided with one bold side and a more subtle side on the reverse. This looks cool as it is when the frame spins, or you can boost the colours with a blending tool and inks. I’ve blended a rainbow effect on the backs of the pieces cut from gold mirri card.
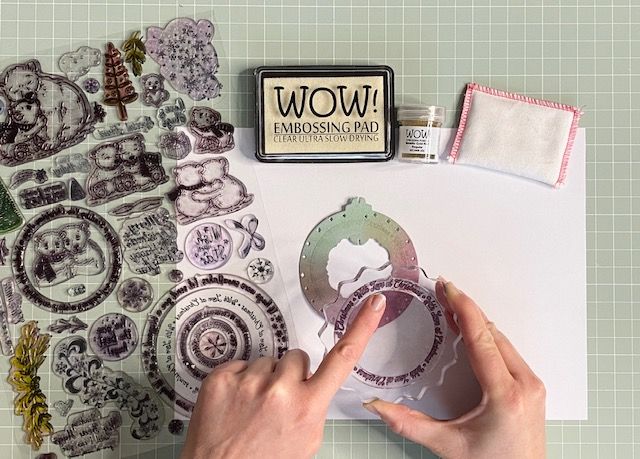
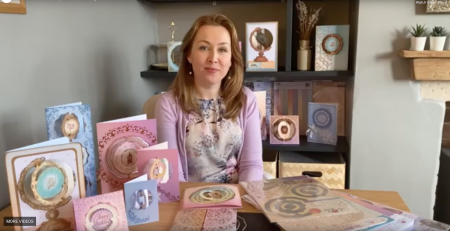
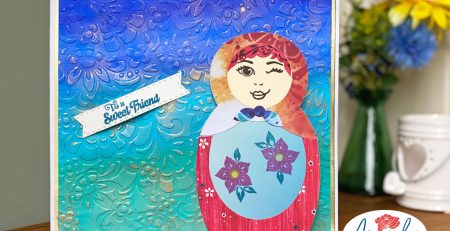
This is my Winter Snuggles photopolymer stamp set. It’s the same set that I’ve used for making all of my samples and for live TV demos on HOCHANDA. You can see that some of my Archival inks have tinted the stamps slightly but they work as well now as they did when I first opened the pack. Photopolymer is fantastic for stamping and I just love how well it clings to acrylic blocks.
It’s impossible to ignore that there are so many amazing stamps in this set. I can’t believe how many we managed to squeeze into the space?!! I’m pointing to a positioning notch that we’ve added to all of the circular greetings. – It means you don’t need to spin them round and round, trying to find a central point within the greetings. There’s been a rush on the Winter Snuggles stamps over the weekend but they should be available again around mid September – we’ll update you on Facebook as soon as they arrive!
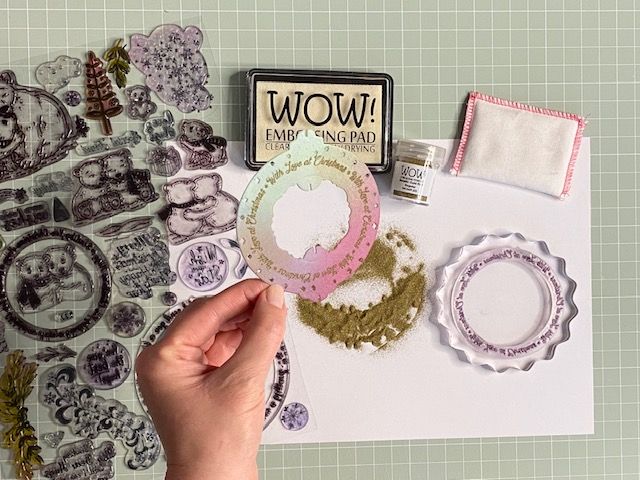
Christmas cards and gold embossing powder are always a winning combination, but I absolutely love the gold over these rainbow colours! Rubbing an anti-static pad over the surface first will help to prevent the embossing powders from sticking to anywhere other than the stamped greeting. I’m always surprised by how much detail is picked up with fine embossing powders. I’m a big Wow! fan as I just love their products. You can find the gold embossing powder I’ve used here on their site.
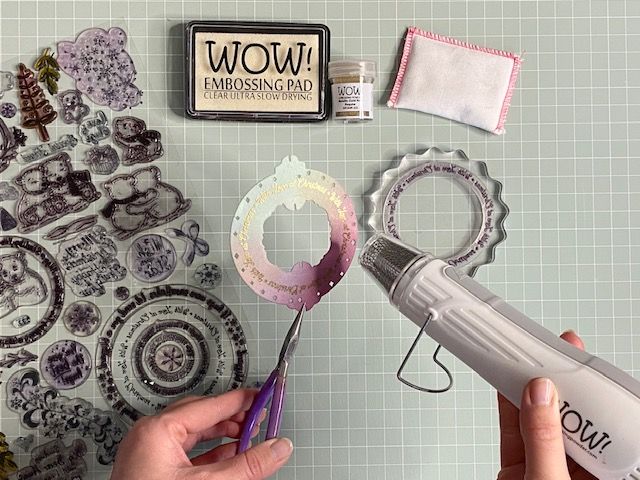
If you’re stamping and heat embossing both sides of your frames, then it’s best to use pliers or tweezers to hold the frame whilst heating it. It will protect your fingers and avoid the embossing powder on the reverse fusing to your craft mat.
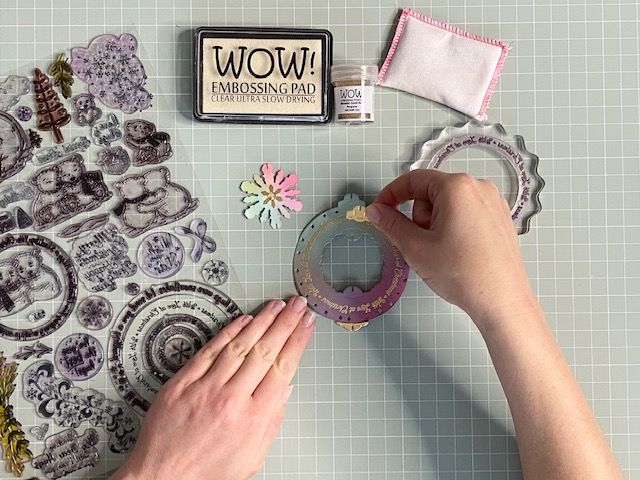
The larger bauble topper from the Festive Frames die set will fit over the top of both the round and shaped bauble from the set. There’s also a thin topper which fits the bottom of the round bauble. I tend to use a tacky PVA glue to quickly fix these in place.
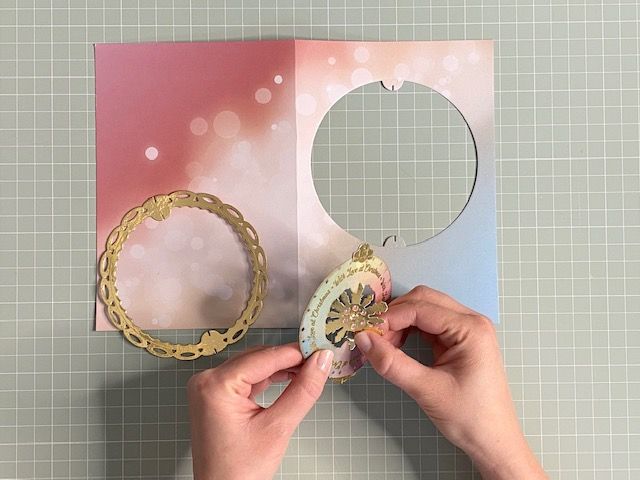
And on to the best bit! As the die-cuts will slot together, you’ll need to flex the card slightly as the pieces connect. For this reason, I start with the smallest inner pieces and work my way out to the outer frames and then to the final aperture. This is quite a large card but the technique will work for smaller cards too.
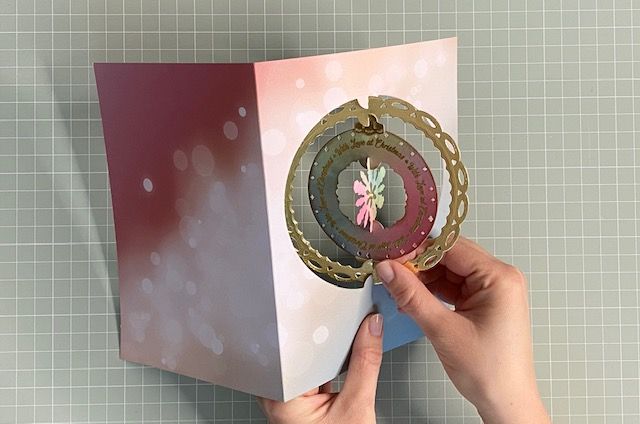
Connecting each of the frames in the same direction will allow them to spin freely. You can also ‘lock’ frames and panels by alternating the way you connect either side of the slots. This photo also shows off the colours and patterns in our Twinkling Mist card – the twinkling effect across the front and back of the card is so pretty!!

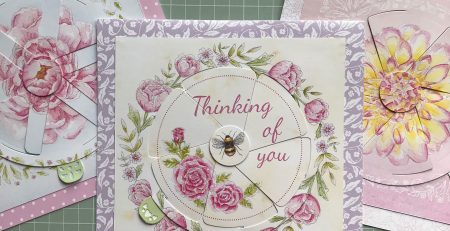
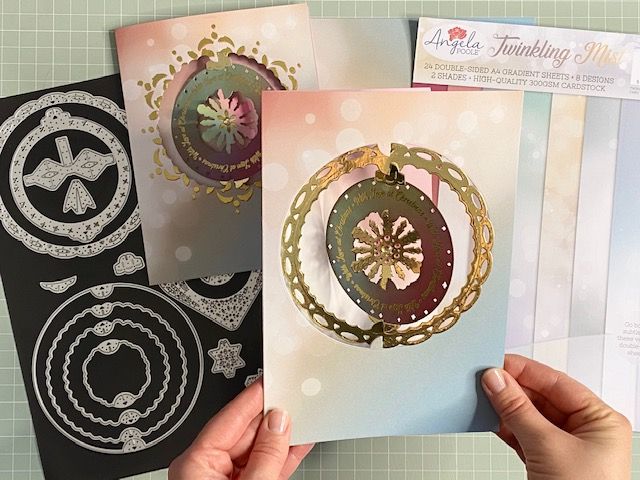
The two cards shown above are exactly the same size and use the same sheet of Twinkling Mist card. They also have the same rainbow coloured round bauble as a focal point. The difference is in the apertures. The mix ‘n’ match possibilities within the die set allow the bauble to connect directly into a smaller scalloped aperture, or it can connect to a larger spinning frame and then to a larger aperture.
There are so many crafting possibilities with our Slot & Spin die sets and we can’t wait to see what you create with them!!
Happy crafting!
Angela
X